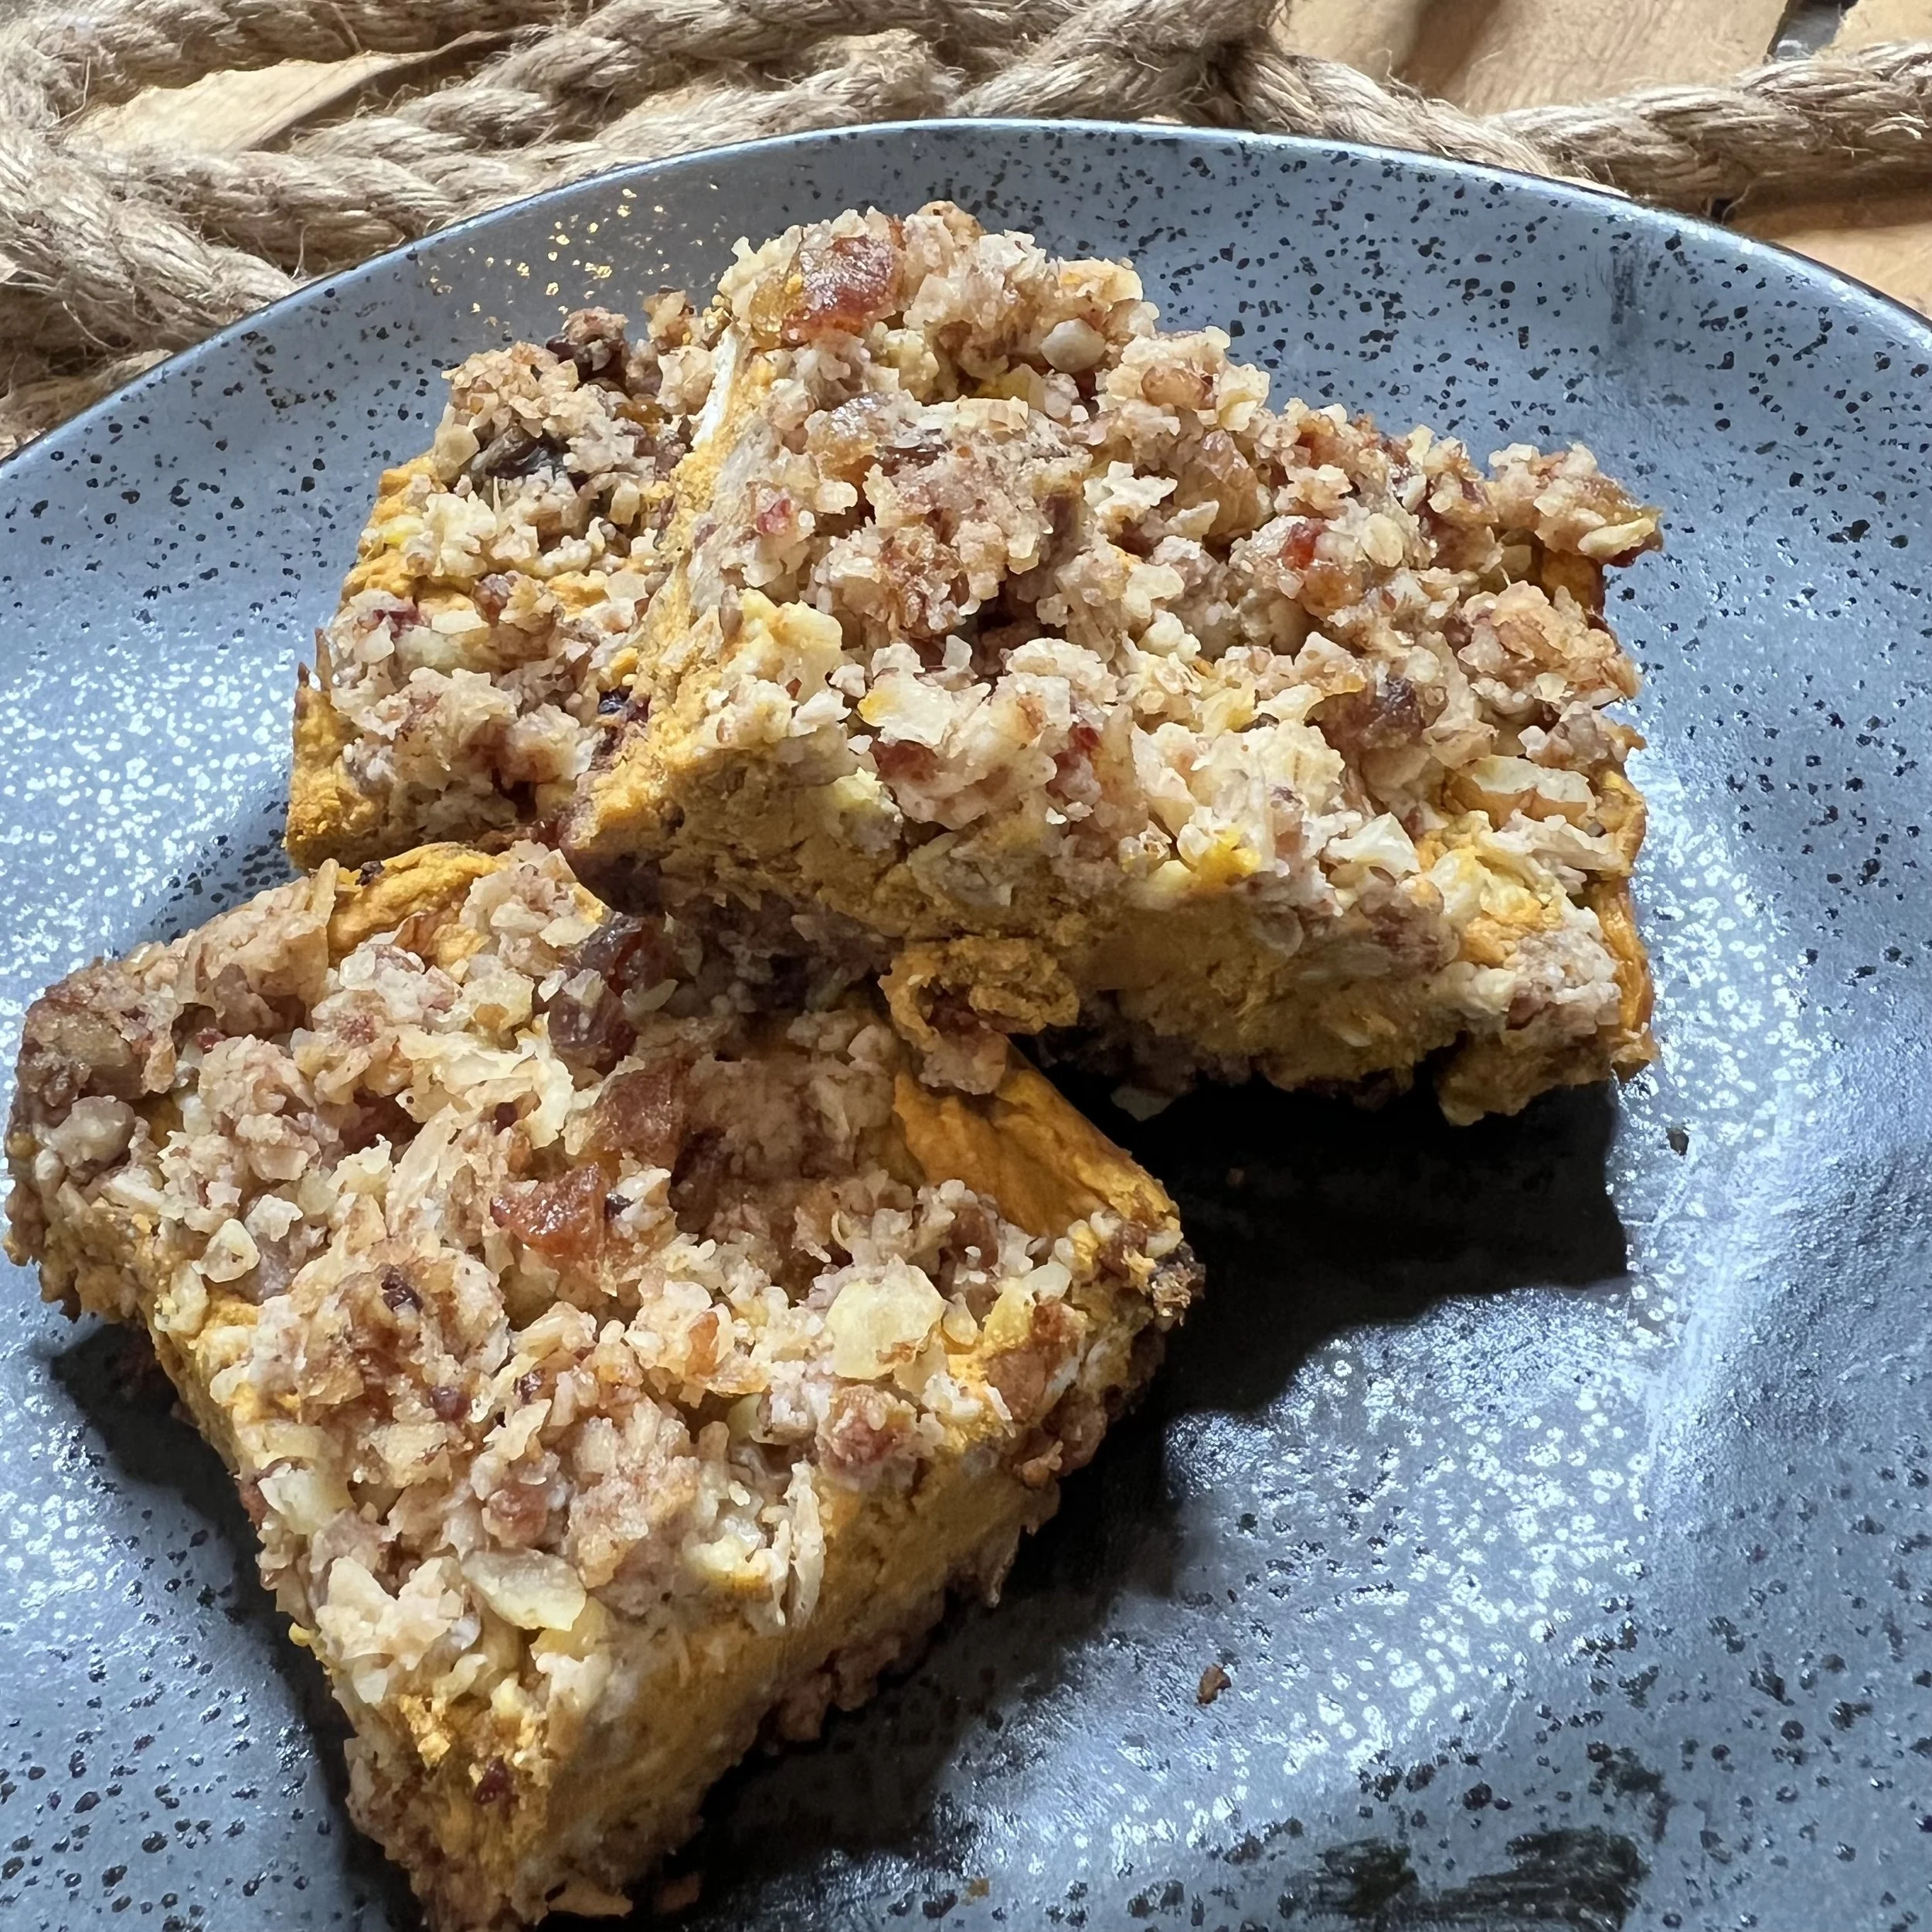
Healthy Thanksgiving Recipes: Pumpkin Oat Bars
You know the feeling: you’ve been working so hard on your health, your diet, your exercise routine— but you don’t want to be that person who says “no” to the dessert round at the party. Not only can it feel little awkward, but you’re also missing out on some really delicious food!
Dessert is typically the hardest part of the meal to navigate if you’re focused on your health. As we outlined in this month’s other recipe, the key to healthy eating around the holidays is to avoid refined sugars, processed foods, dairy, and oils cooked at high heat. Pretty much every one of the iconic Thanksgiving desserts features at least one of those things— if not all of them.
There’s a way to avoid the dance of saying you’re full, excusing yourself early, getting a head start on dishes, and so on. This recipe reinterprets one of the most iconic desserts, pumpkin pie, as an extremely healthy option. These pumpkin pie oat bars are vegan, gluten-free, and use zero low-quality oils or granulated sugars. And they taste good too!
We ran this recipe by the hardest palate to please in the house: our 18-month-old son, Charlie. He absolutely loves it, and would happily eat an entire pan by himself if we let him. The best part is, we don’t feel guilty letting him have a bar at any time of day.
We think this is sure to be a crowd-pleaser, and leaves plenty of room for fun additions: feel free to top it with some fresh maple syrup or coconut cream for a little extra festive flair. This recipe is also pretty easy to make. There are only a couple tricky things to keep in mind: you should refrigerate the coconut milk a few hours before cooking, and you need to refrigerate the completed bars before serving. For best results, make a dish a day or two before the big party, and then just kick back and enjoy the feast.
Lastly, this recipe does make a relatively small batch. We recommend making two pans worth if you’re going to feed a lot of people.
Pumpkin Oat Bars Recipe
Equipment:
Blender
Mixing Bowls
Measuring Cups
7x11 glass pan
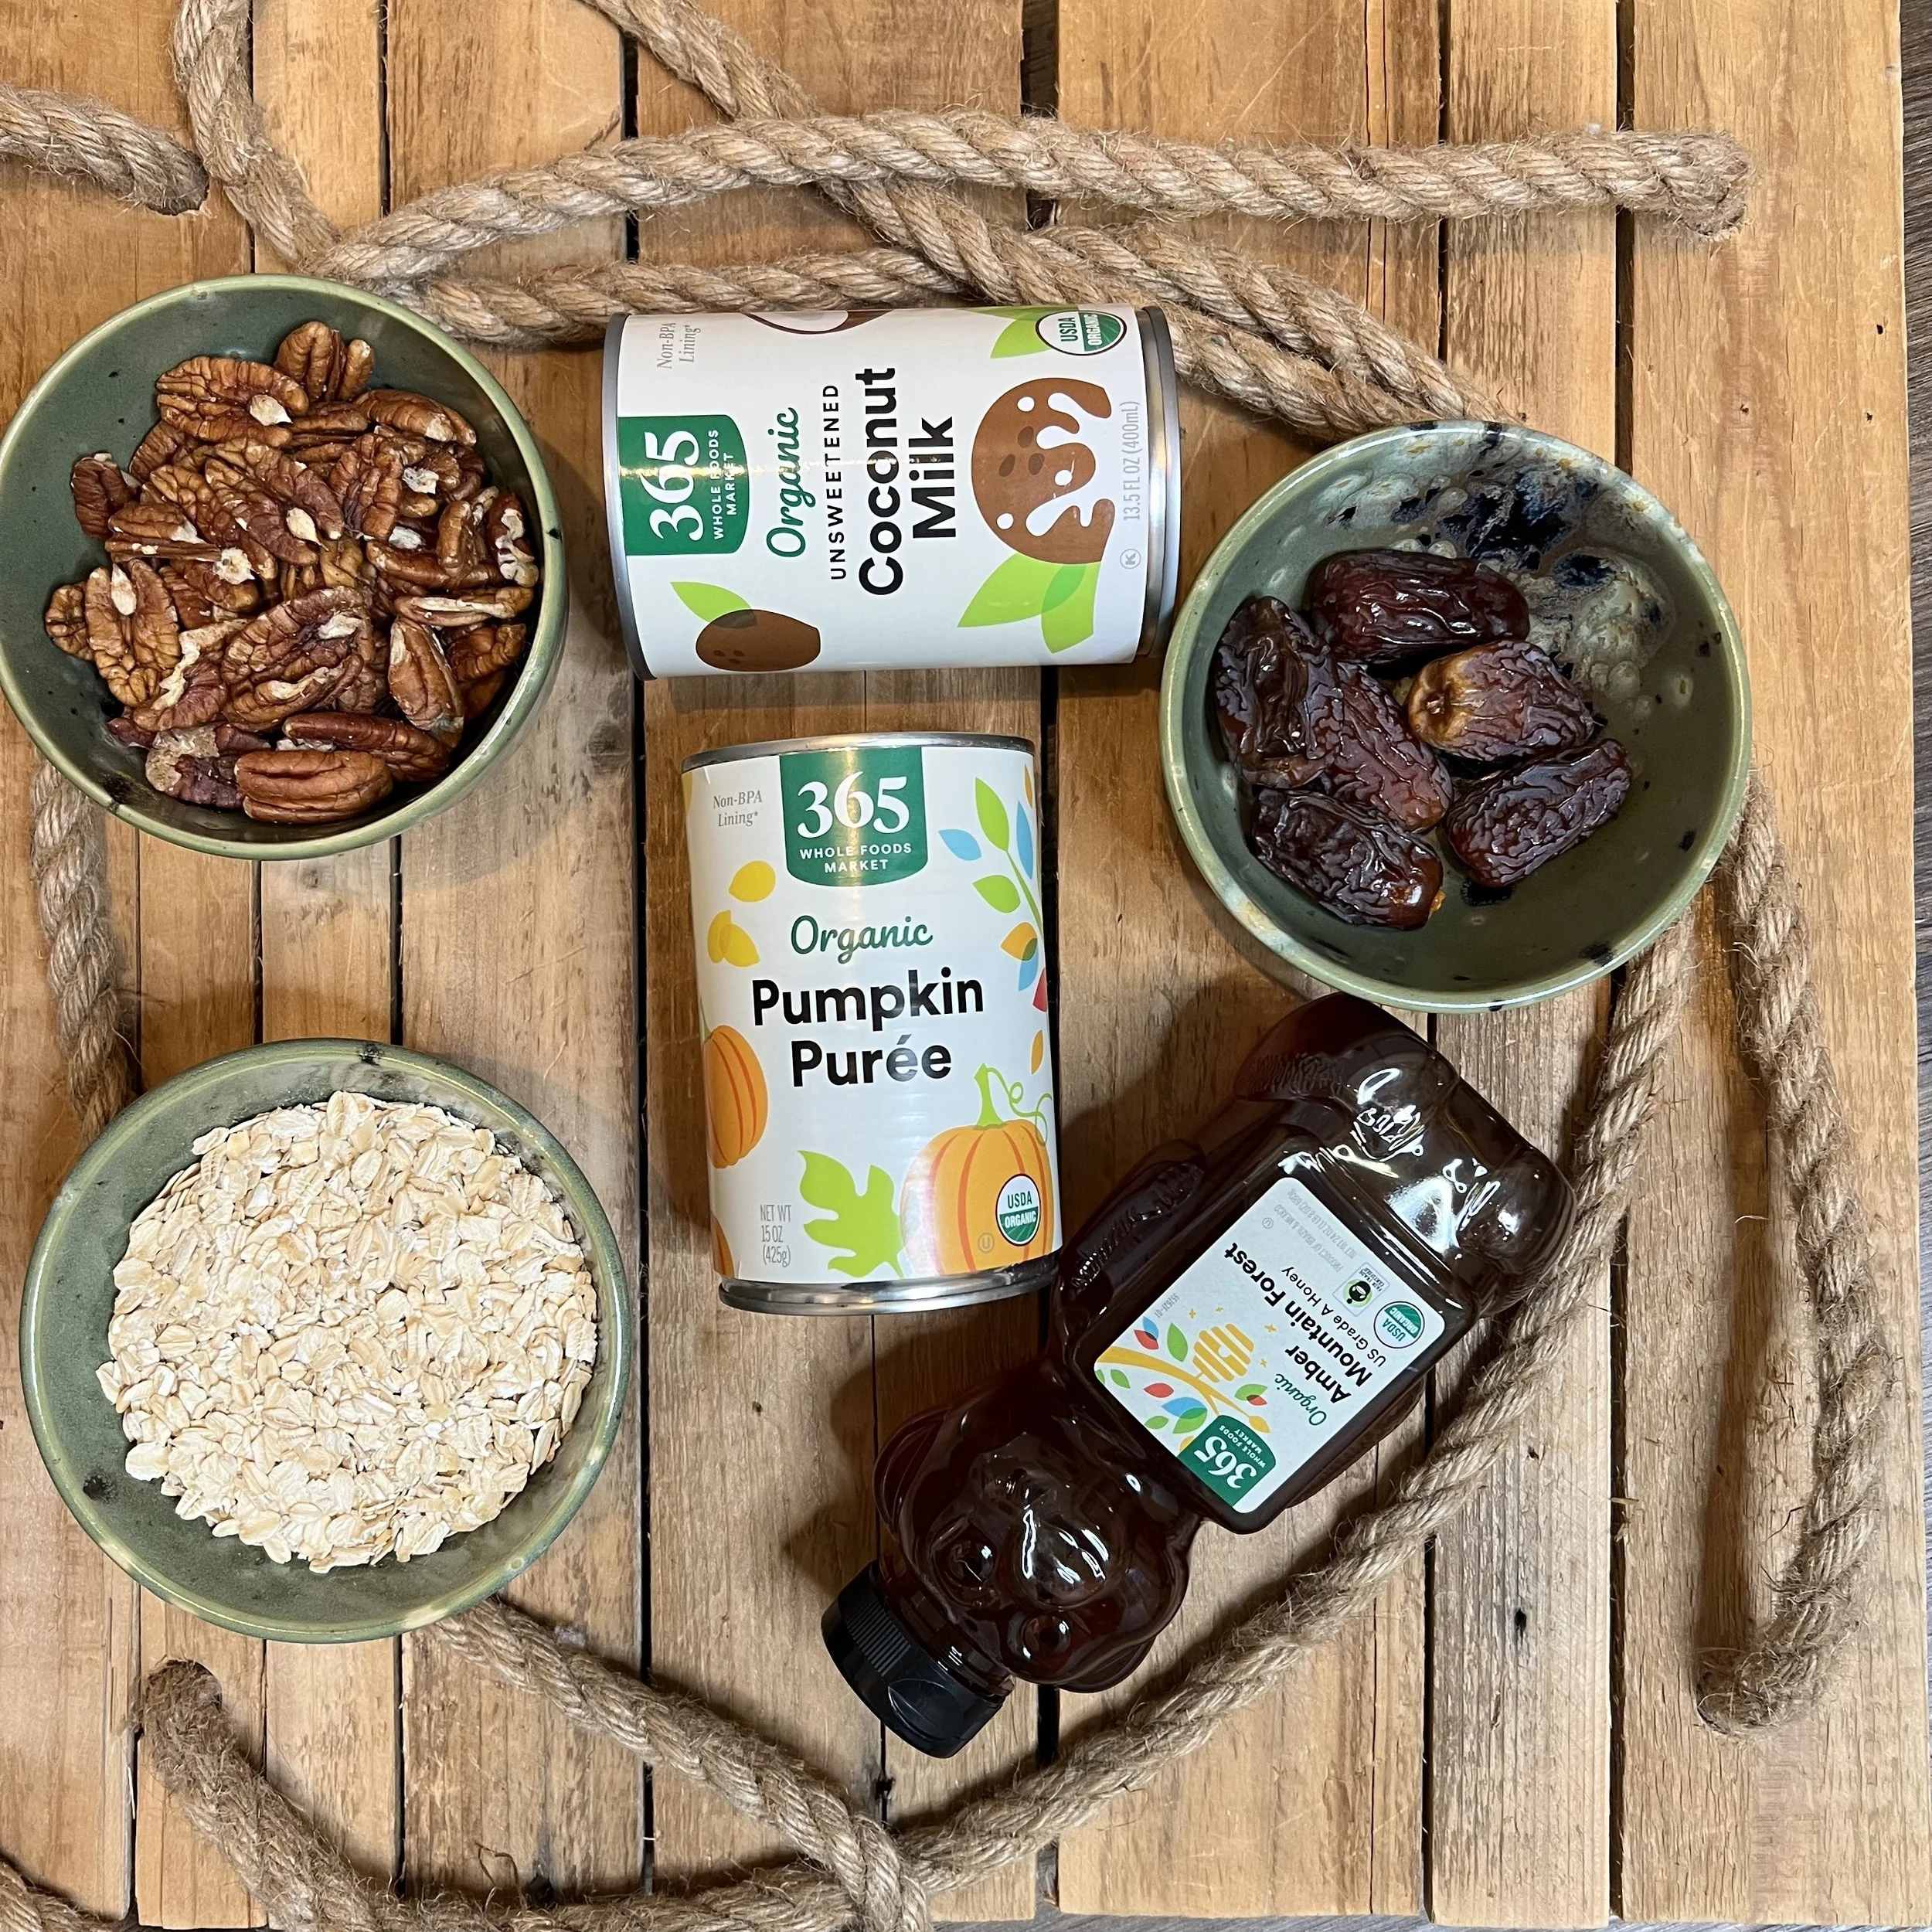
Ingredients:
1 cup rolled oats (look for gluten-free oats if needed for any guests)
1 cup halved pecans
1 can pureed pumpkin
½ cup honey, plus 3 tablespoons
6 dates (remove pits)
1 can coconut milk (refrigerated)
2 tablespoons coconut oil
½ teaspoon salt, plus ½ teaspoon salt
¼ teaspoon clove
¼ teaspoon cardamom
½ teaspoon nutmeg
1 teaspoon cinnamon
1 tablespoon vanilla
Recipe
1) At least 4 hours before cooking, put the coconut milk can in the fridge. For best results, leave in the fridge overnight. This will help the coconut milk separate, which is necessary for the texture of the pumpkin filling.
2) Preheat the oven to 375 degrees.
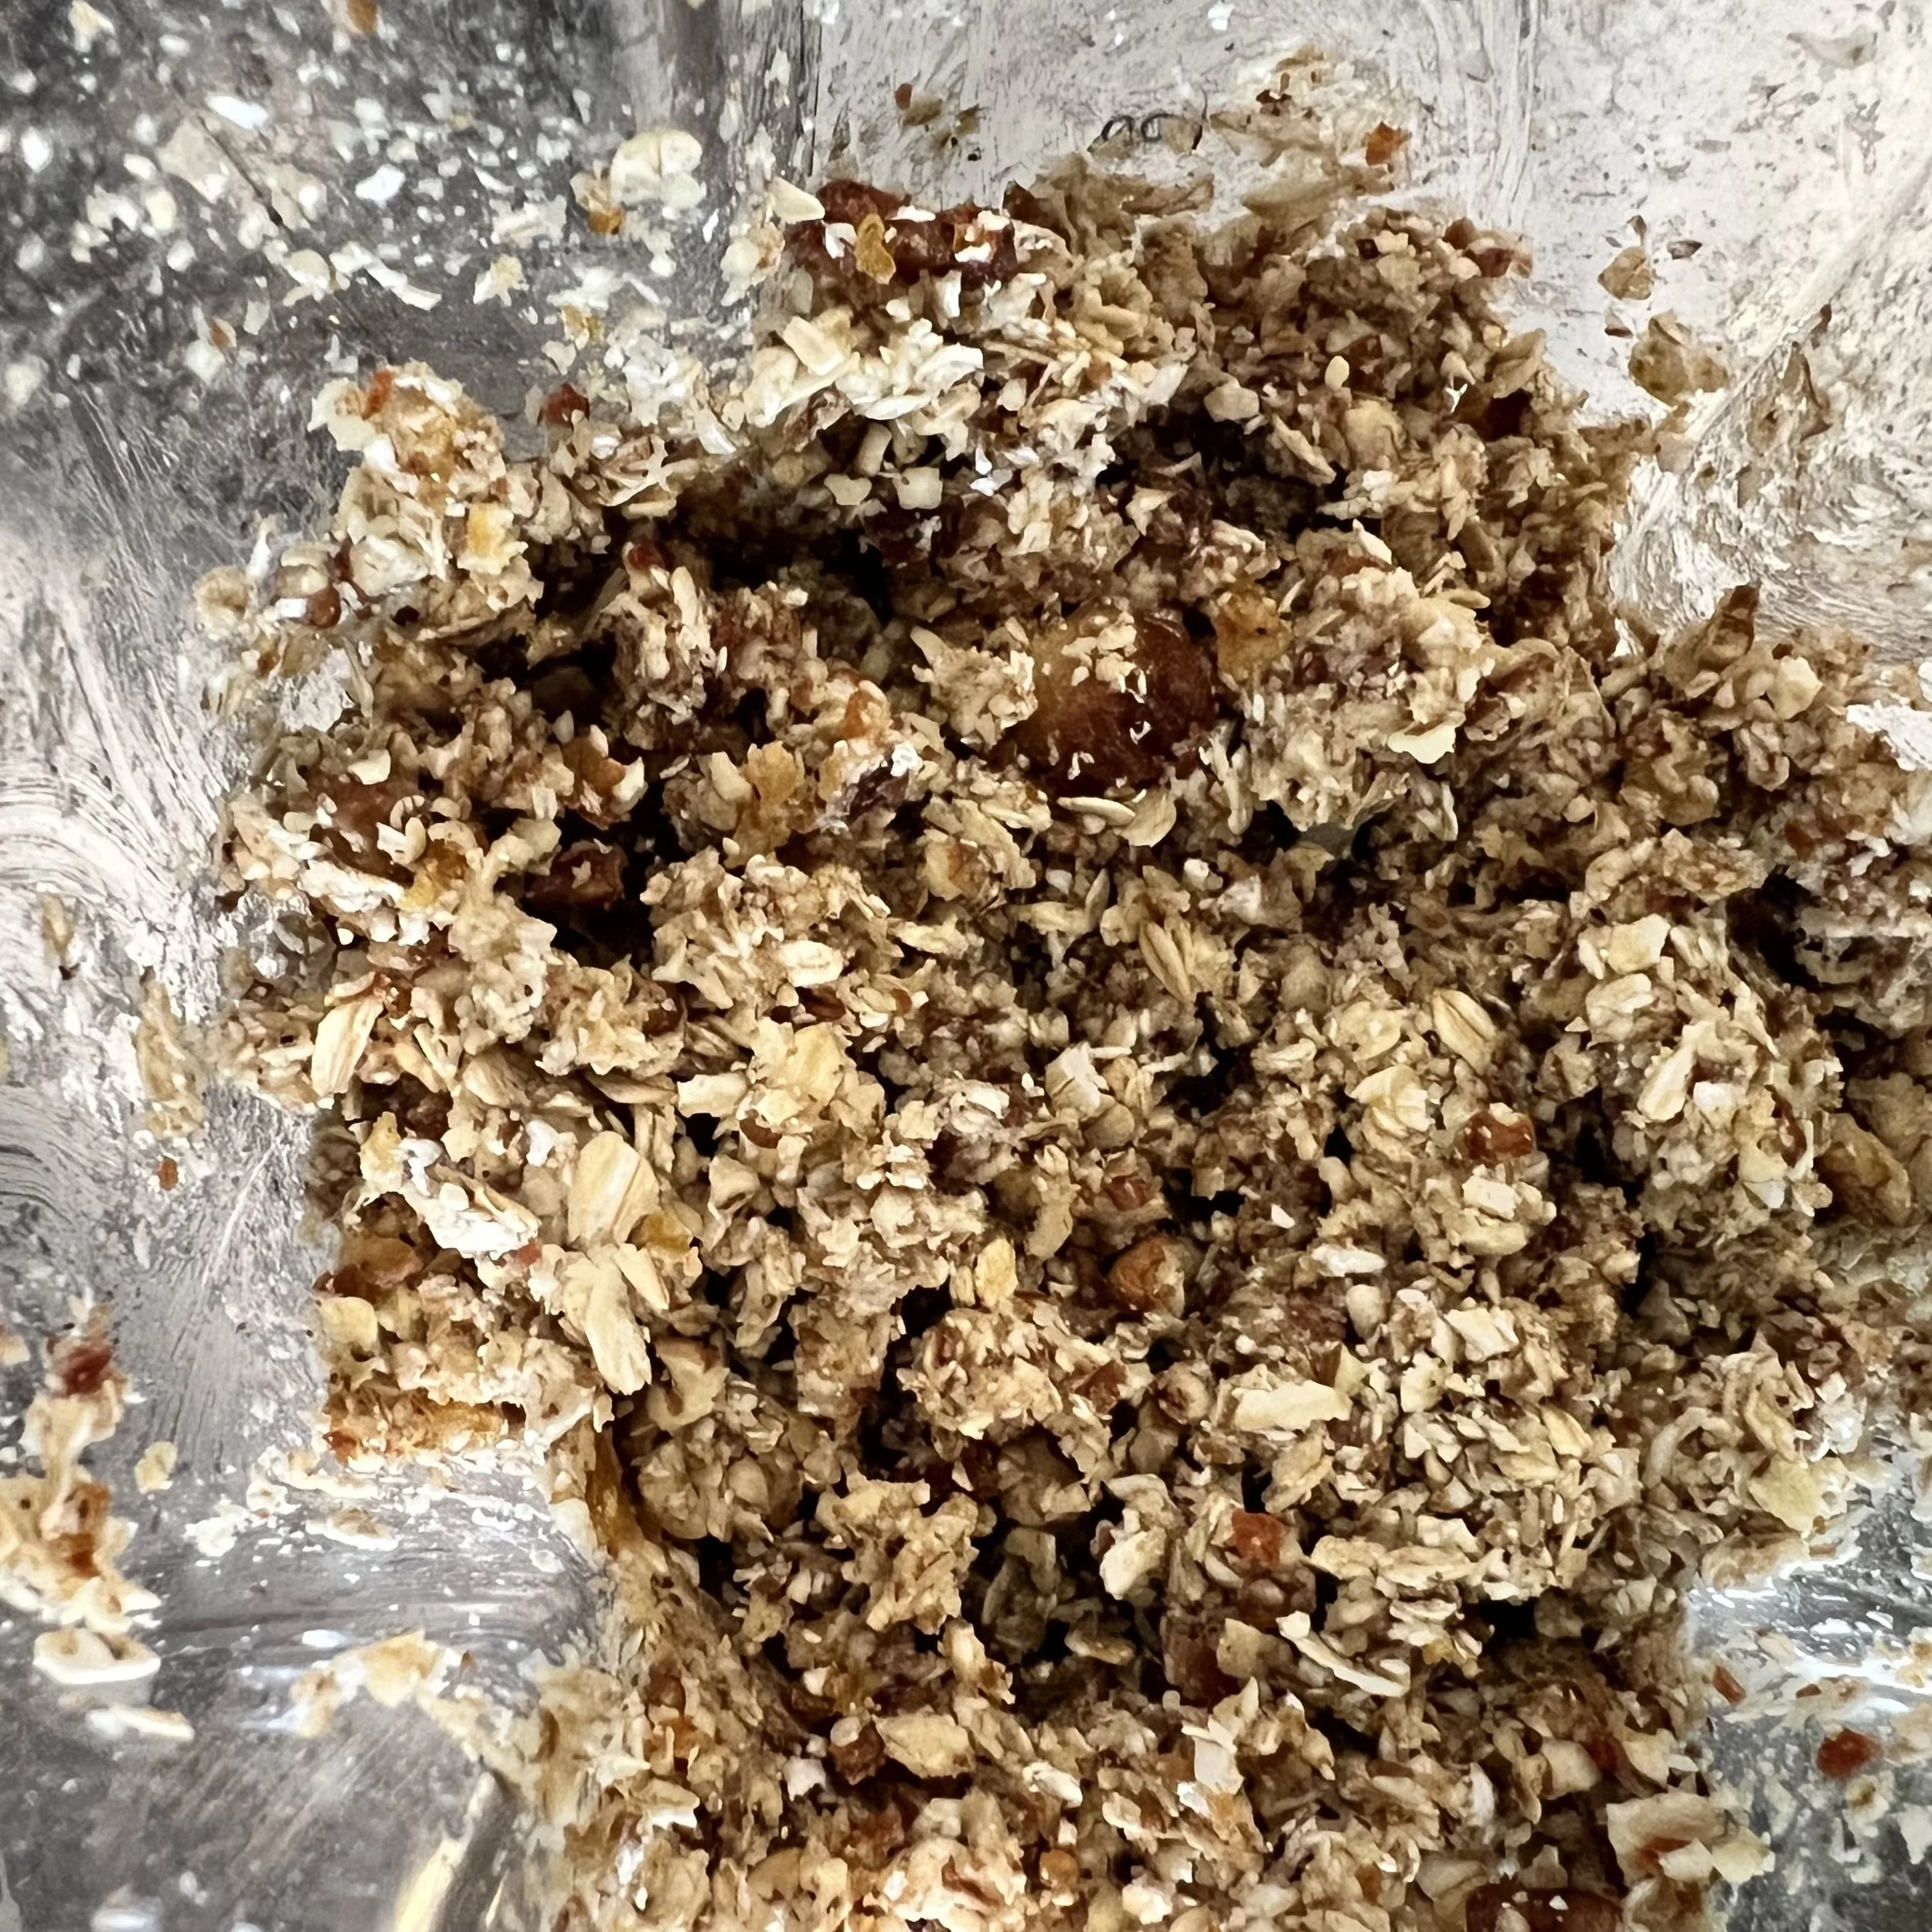
3) In a blender cup, combine oats, pecans, coconut oil, dates, salt, and ½ cup honey. Pulse until the mixture is combined, but chunky. Do not puree into mush. Scoop all of this mixture out into a bowl.

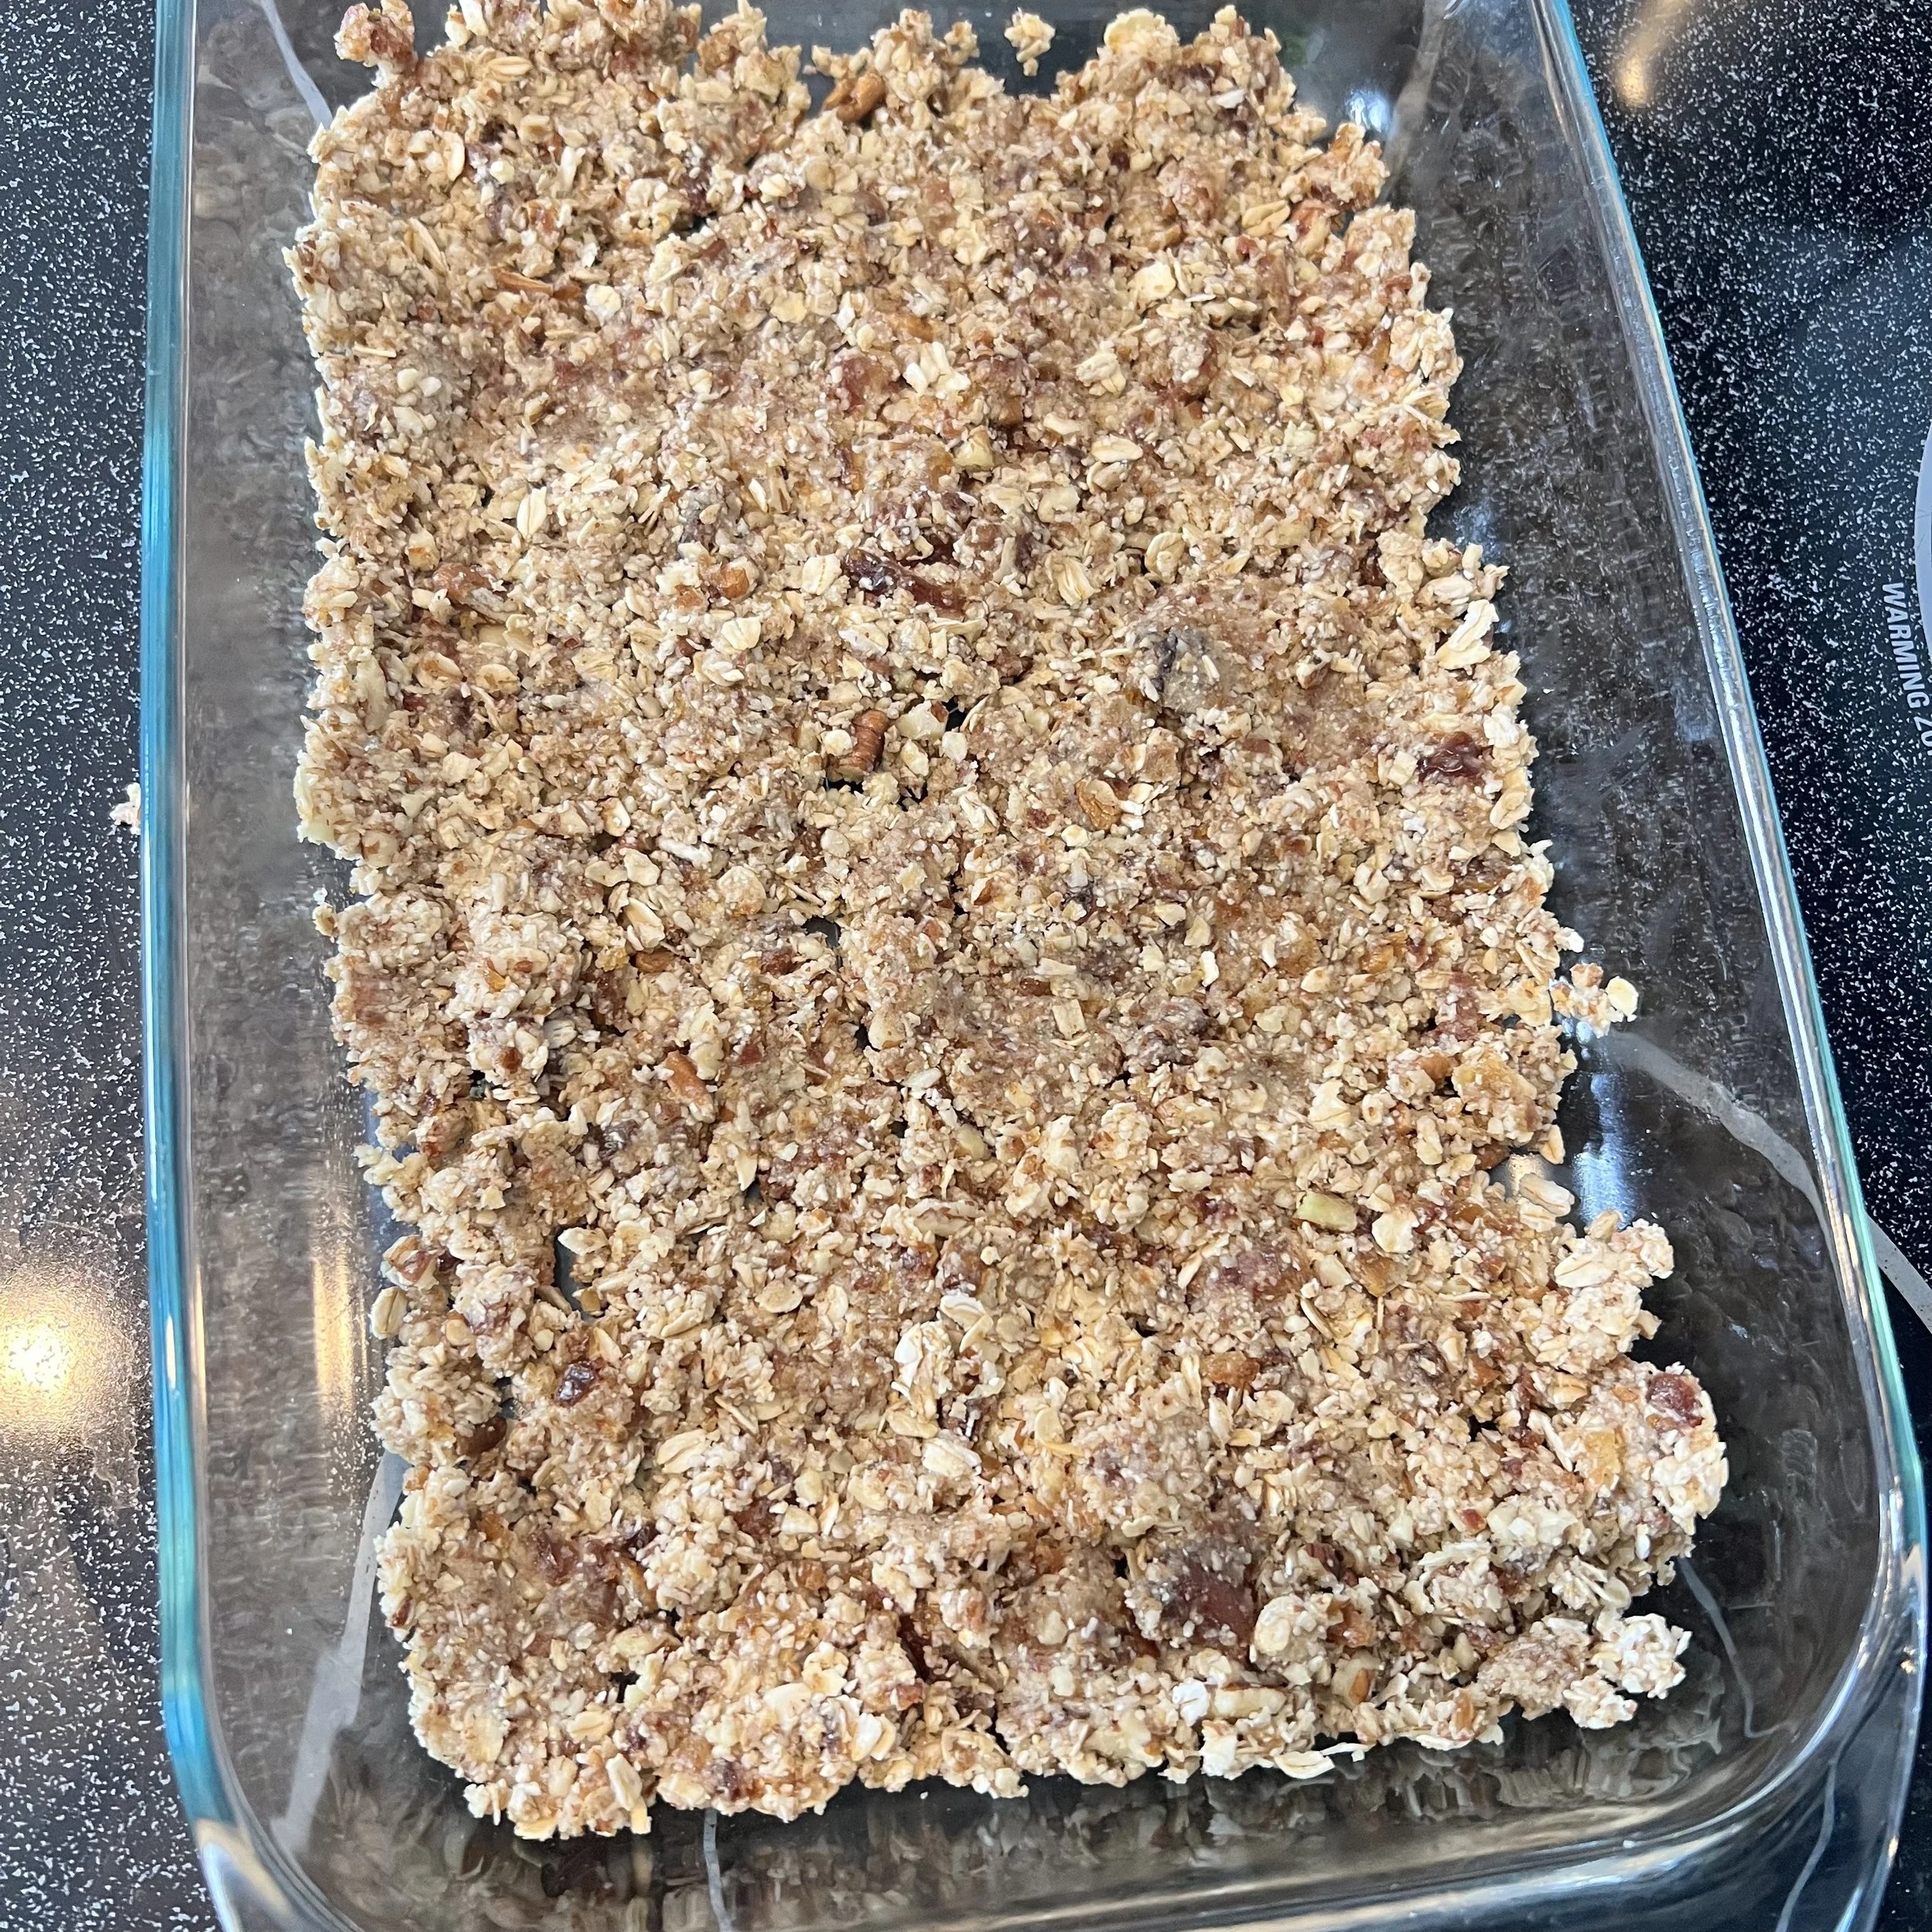
4) Spread 2/3 of the crust mixture across the bottom of the pan, using your hand to press it together so there is a smooth layer with no gaps.
5) Put the pan in the oven for 10 minutes, until the crust is lightly browned.
6) While the crust is in the oven, it’s time to work on the filling. Take the coconut milk out of the fridge and open it. Using a spoon, scoop out the solid white portion of the milk into a small bowl. Discard the water from the can.
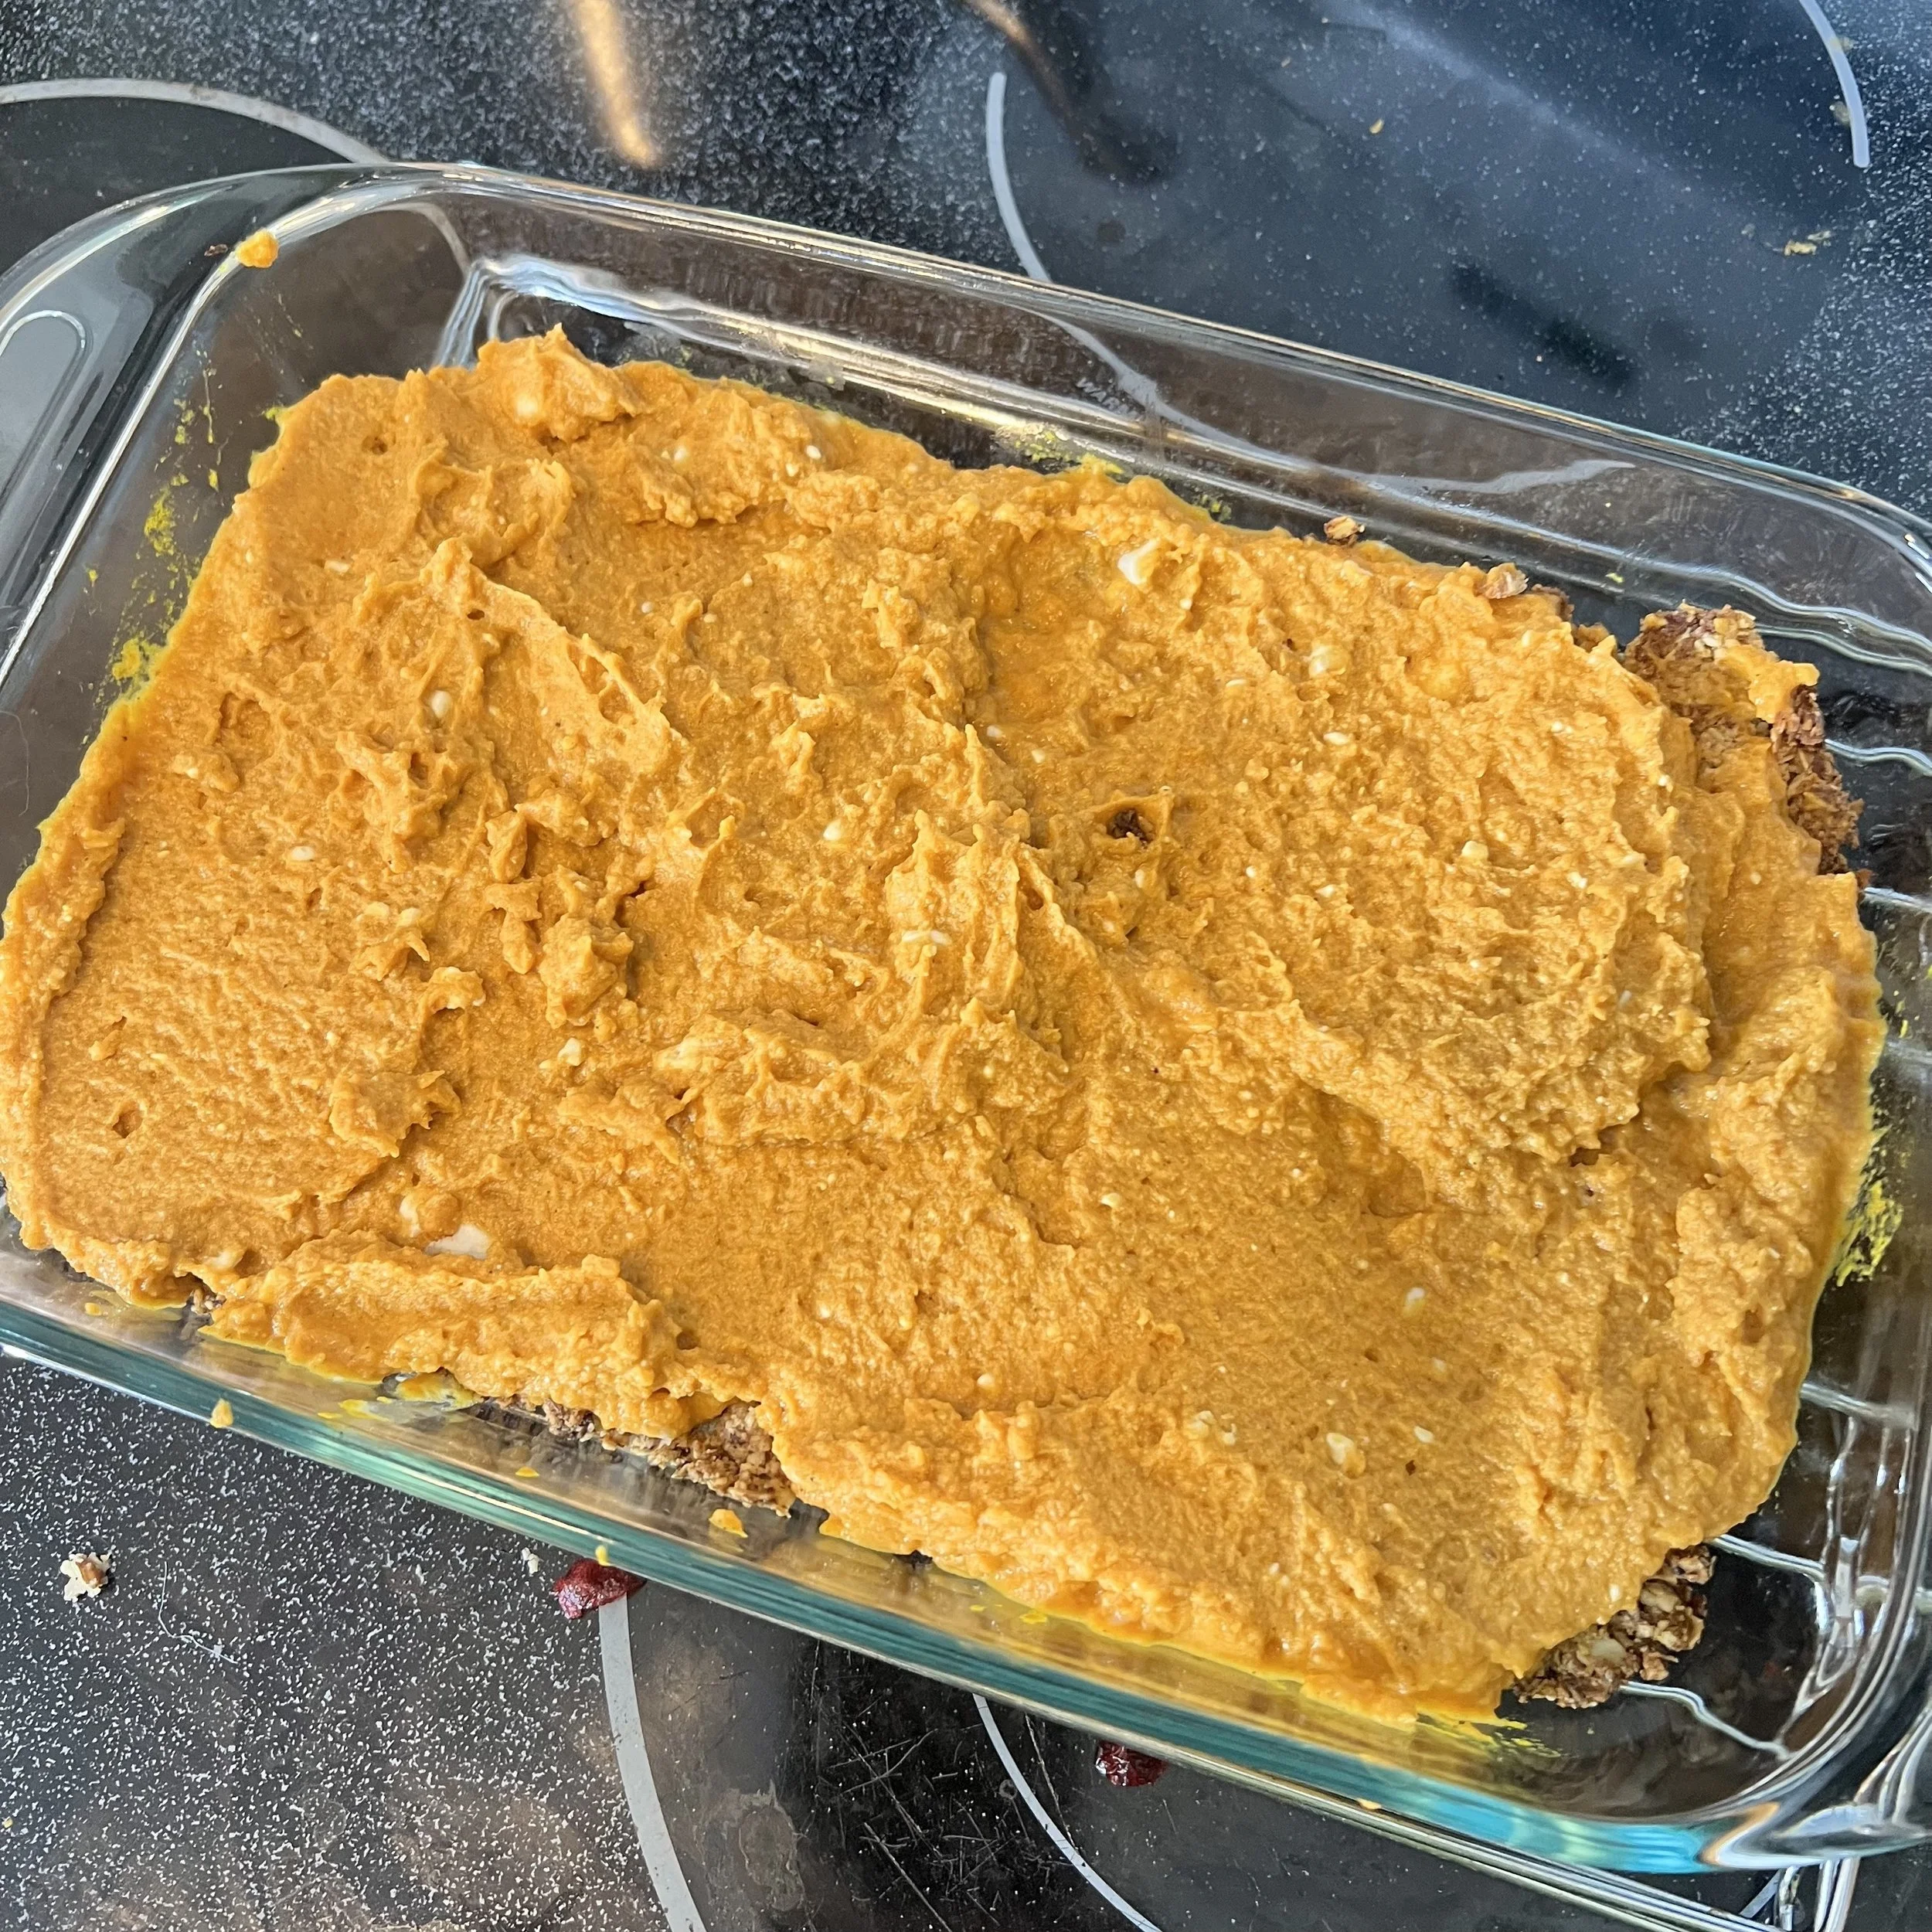
7) Combine the pumpkin, vanilla, spices, remaining honey, remaining salt, and coconut milk solids. Use a hand mixer to ensure everything is thoroughly combined.
8) Take the crust out of the oven. Immediately pour the pumpkin filling into the pan and spread it so there is one uniform layer across the entire crust.
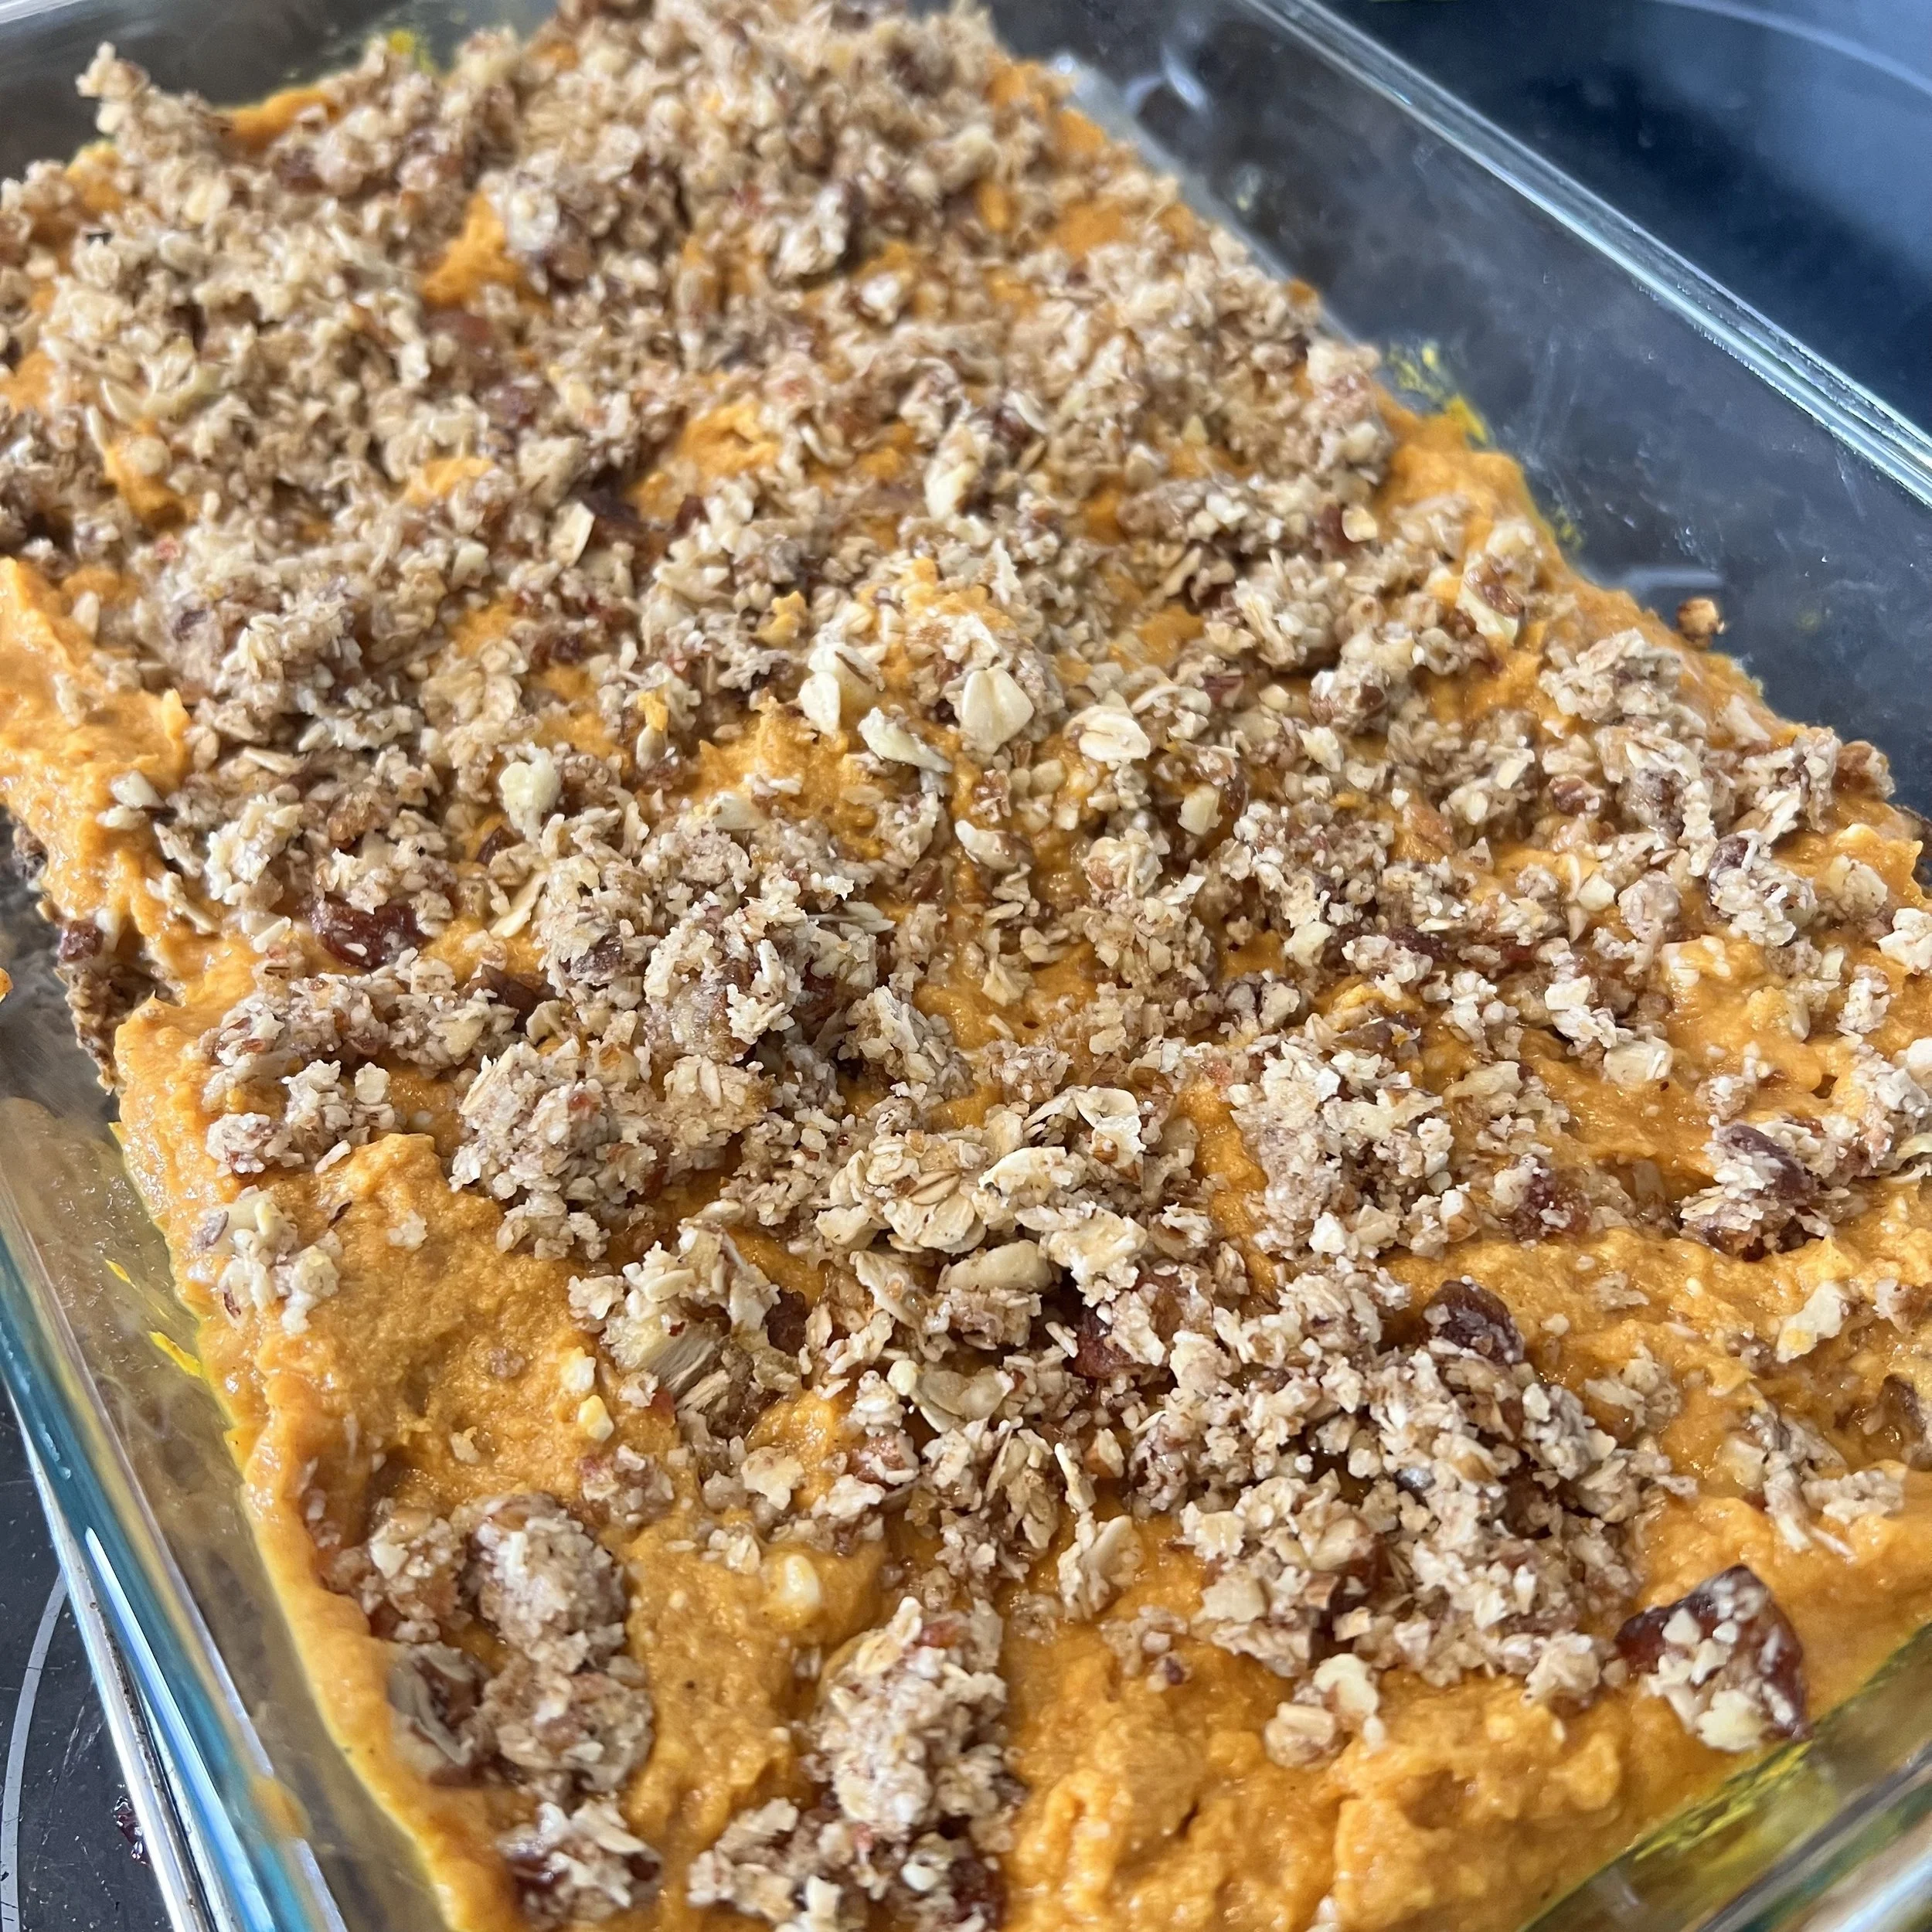
9) Sprinkle the remaining oat mixture on top of the pumpkin. There won’t be enough to make a second crust, but you should be able to have everything evenly distributed across the pan.
10) Put the pan back in the oven for an additional 30-45 minutes. The oats on top should be browned, but not burned.
11) Set the pan on a cooling rack and let cool for one hour before putting the entire pan in the fridge overnight to set. Remember to cover the pan!
12) Once entirely cool, cut into squares to serve. This recipe pairs well with a scoop of coconut cream for that true “pumpkin pie” presentation.