Eating With the Seasons December 2023: Bone Broth in Onion and Apple Soup
It’s time to welcome winter! December brings the shortest day of the year, and each day seems colder than the last. While that sounds like a negative, there’s reason to celebrate when it comes time to cook dinner. Many of our favorite recipes are built for this weather and feel plain wrong to eat when the sun is high in the sky and temperatures linger in the 80s.
It’s time to break out the heavy-bottom pots and slowly cook some robust, hearty meals that will fill your belly and warm your soul.
In Chinese medicine, winter is the season of the water element. That means we’re going to focus on the kidney and bladder. Each of these organs are likely to suffer qi depletion during the winter months, which can lead to asthma, water retention, and weakness in the lower back and knees. To combat these imbalances, it’s important to cook with bitter, salty foods that warm the body.
Bone broth is the perfect way to combat the winter cold. Homemade broth uses low temperatures and long cook times to extract nutrients from deep within bones, marrow, and vegetables that aren’t normally accessible through other cooking methods. These nutrients, along with the salt and bitterness found in the recipes below, are vital to support the kidney during these cold months.
Making Bone Broth

Many bone broth recipes you’ll find online are delicate, designed to create the type of pure, light broth you’d find at a fine-dining restaurant. They’ll require you to blanch bones and labor over the stove skimming fat. With this recipe, we are pointedly, defiantly, emphatically, and with great pride— not doing any of that. This is a broth that is proudly rough around the edges and, most importantly, alive.
We’re doing that for a reason: we are making a broth that isn’t just designed to taste delicious, it’s meant to nourish your body and provide all of the vital fats, oils, and other nutrients that are found in every fiber of bone and vegetable you’re putting in the pot.
With the utilitarian nature of this broth in mind, there’s a vital step zero before we get started: horde your trash.
Do you know how many vegetables you throw away? If you’re cooking with fresh vegetables (which you should), you’re throwing away tons and tons of nutrient-dense vegetables each and every night.
Let’s try an experiment. Every time you cook for the next week, don’t throw away a single piece of a vegetable. Take all of the onion skins, celery hearts, carrot ends, and pepper stems you cut off and toss, and put them in a freezer bag. Throw that bag in the freezer each night, and watch it fill up. That big bag of scraps will be the first ingredient in your bone broth.
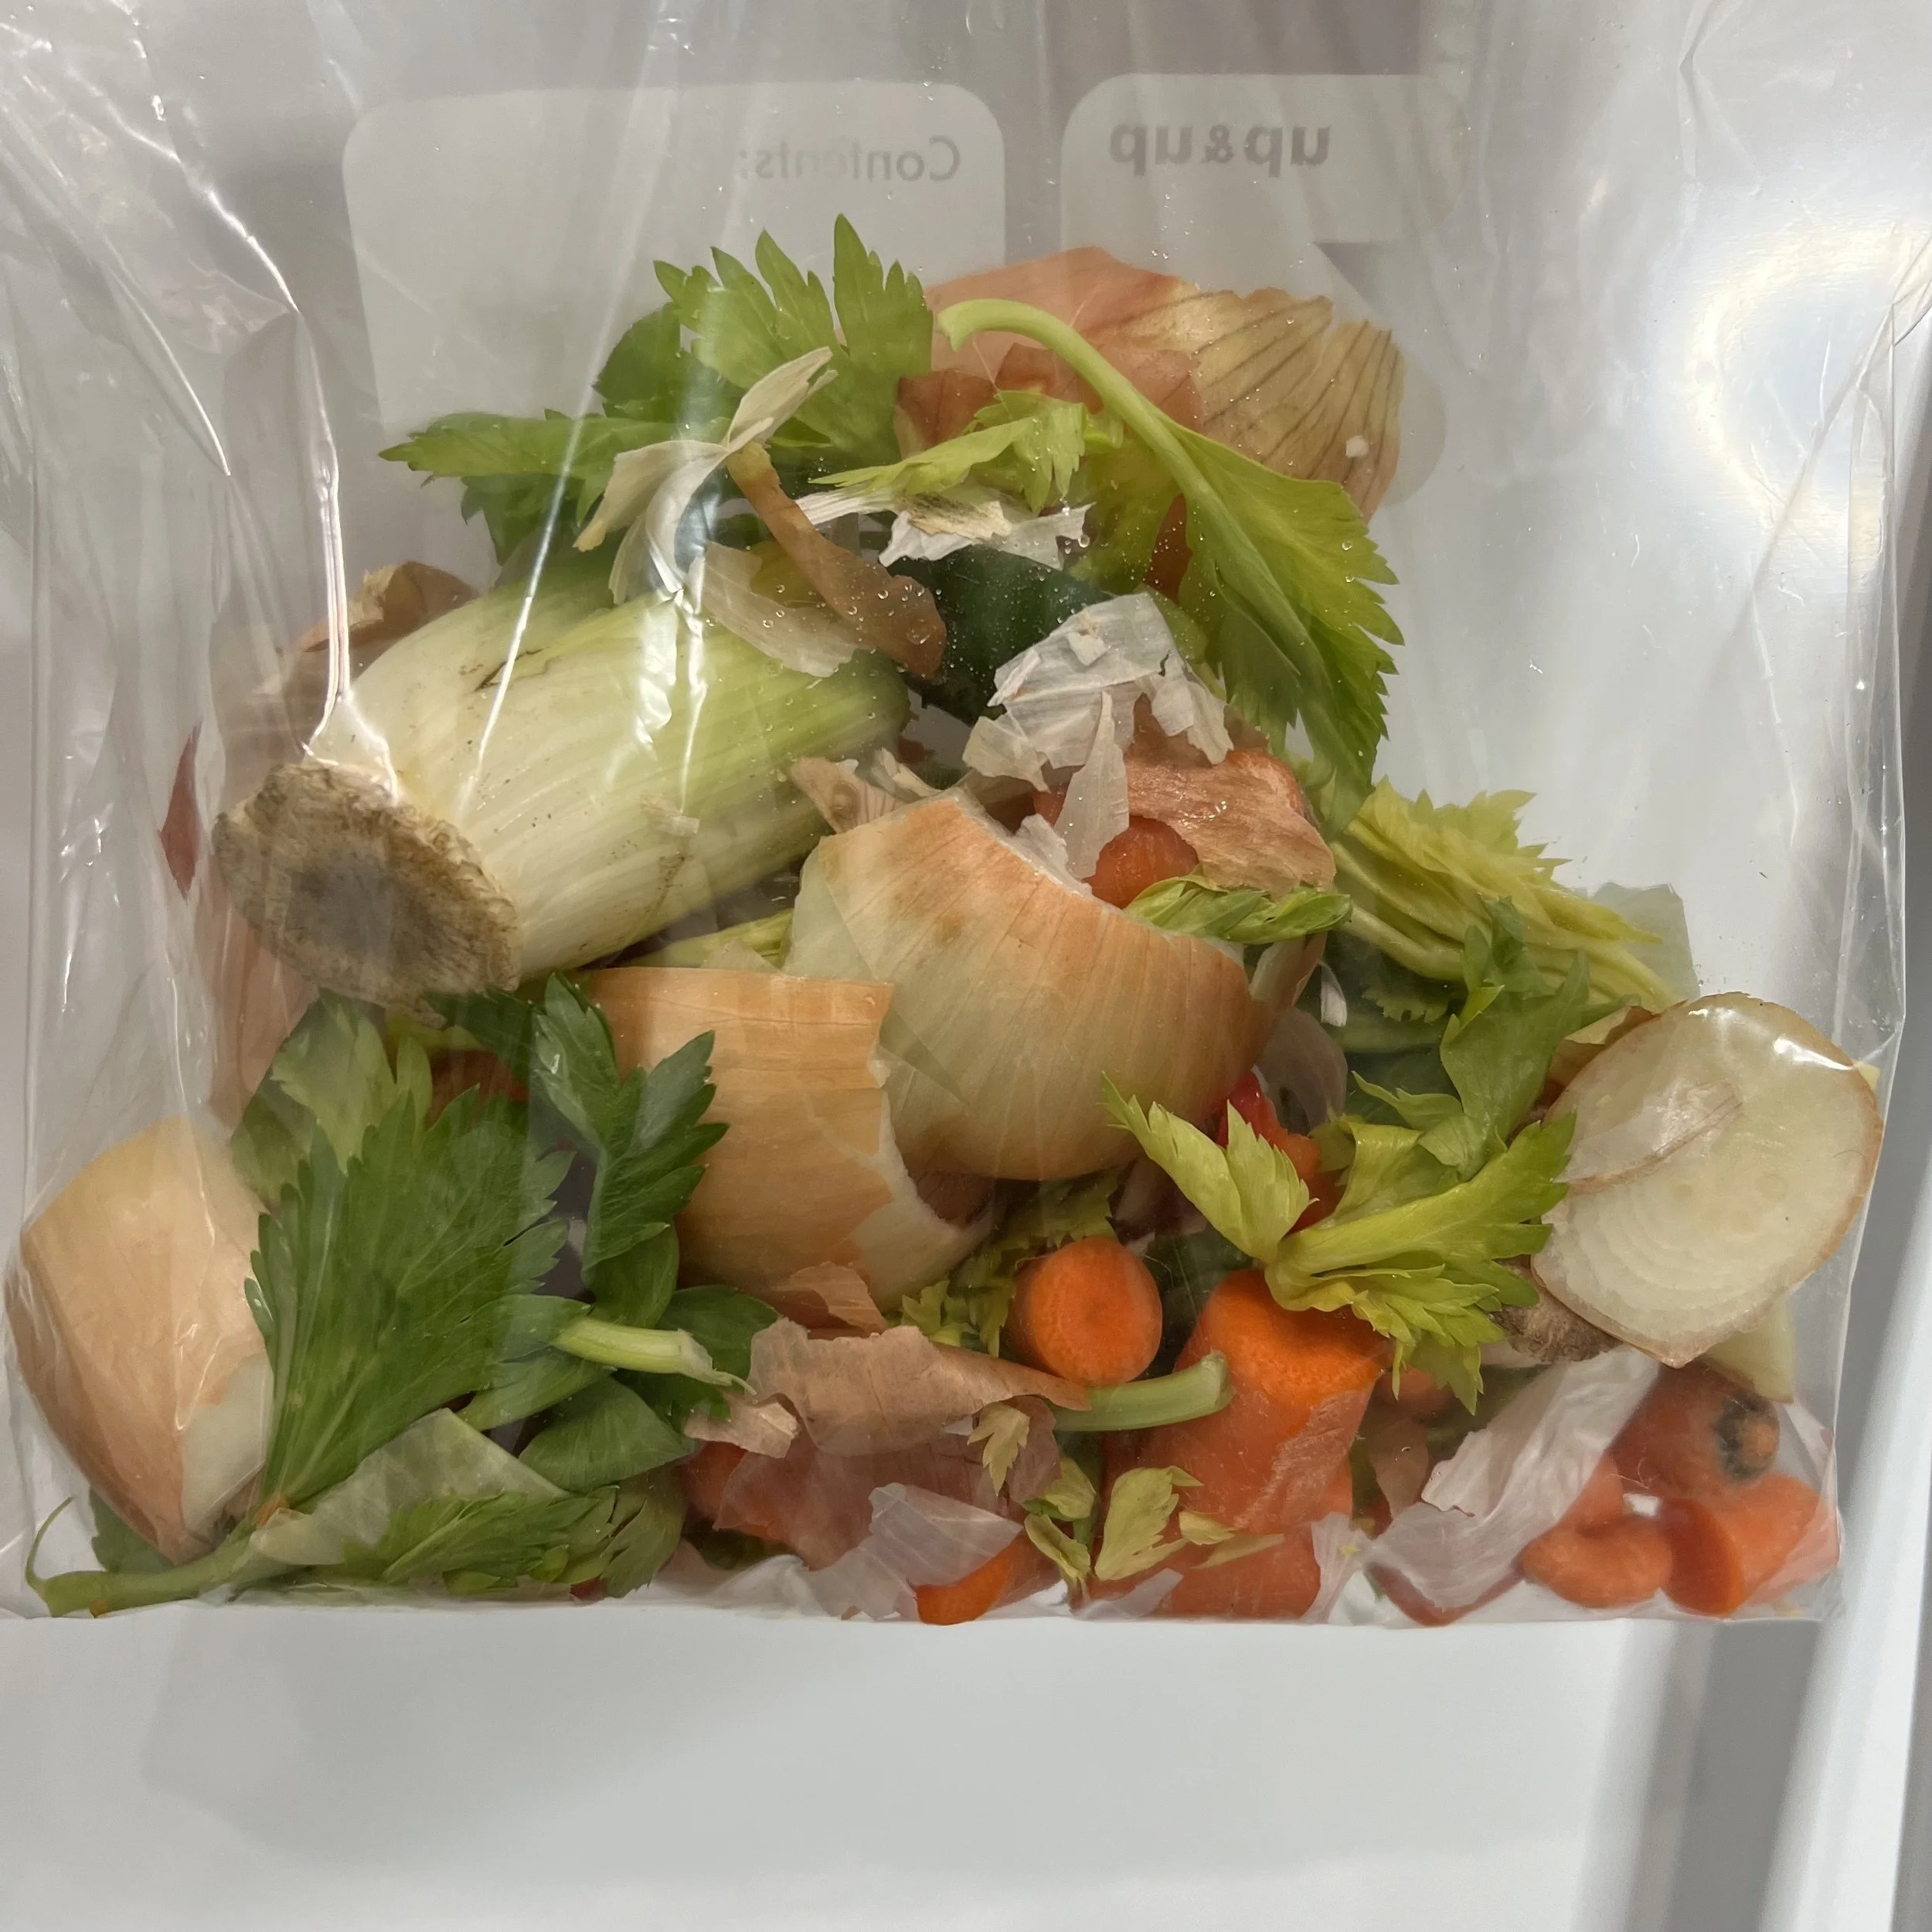
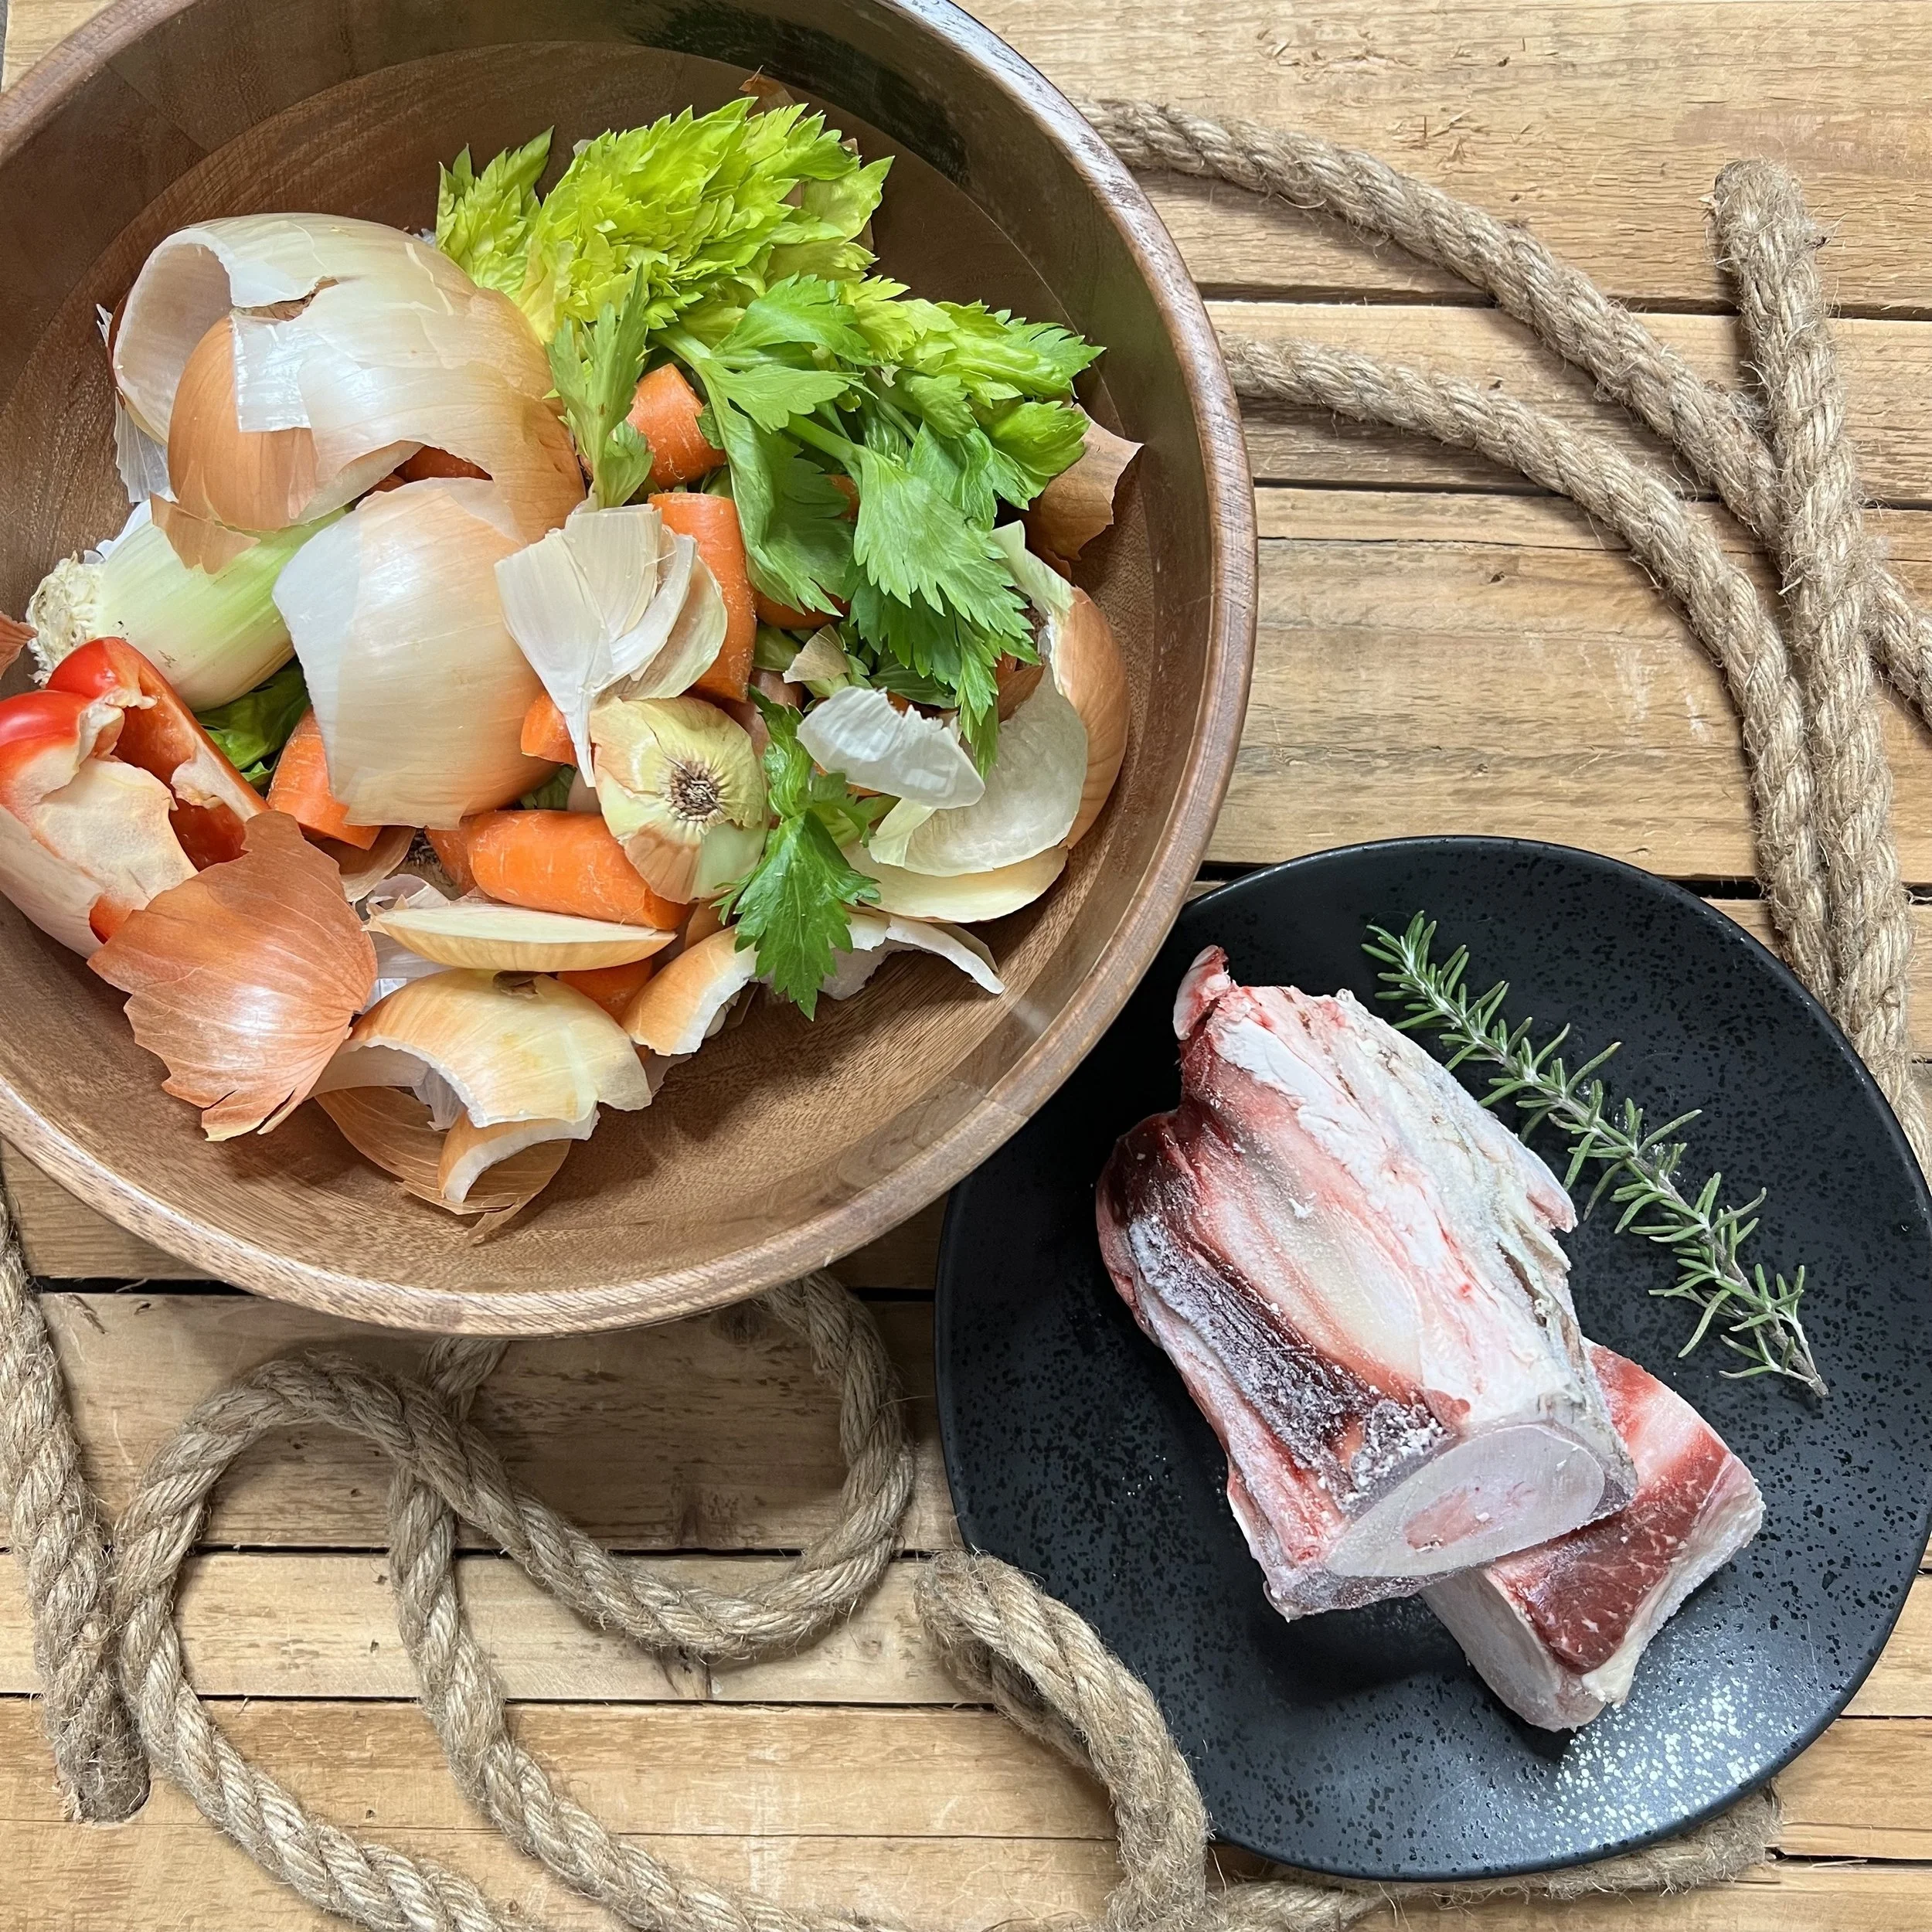
So, why are we saving and reusing scraps? One, you’ve already paid for them, so you’re saving money by not going out and buying a fresh bag of carrots to make this recipe. And two, by being resourceful you’re decreasing the amount of food waste you produce, so you’re helping out your wallet and the planet at the same time. While we’re using store-bought beef bones for this recipe, keep in mind that you can apply the same principles to meat scraps: save your turkey carcass after Thanksgiving dinner, hold onto ham bones too.
For now, let’s get started on a delicious beef bone broth, and then turn around and make it into an even better cup of French onion soup.
Beef Bone Broth Recipe
Equipment:
- Large, heavy-bottom, stainless steel pot
- Baking sheet with raised sides
Ingredients:
- 2 pounds beef marrow bones
- 1 gallon freezer bag of vegetable scraps
- About 20-30 cups Water
- Herbs (we used clove and rosemary), to taste
- Salt, to taste
- Pepper, to taste
Recipe:
— First, preheat the oven to 425 degrees.
— Spread your beef bones and vegetable scraps in an even layer across the baking sheet. If you can’t get everything onto one sheet, it’s okay to use two.
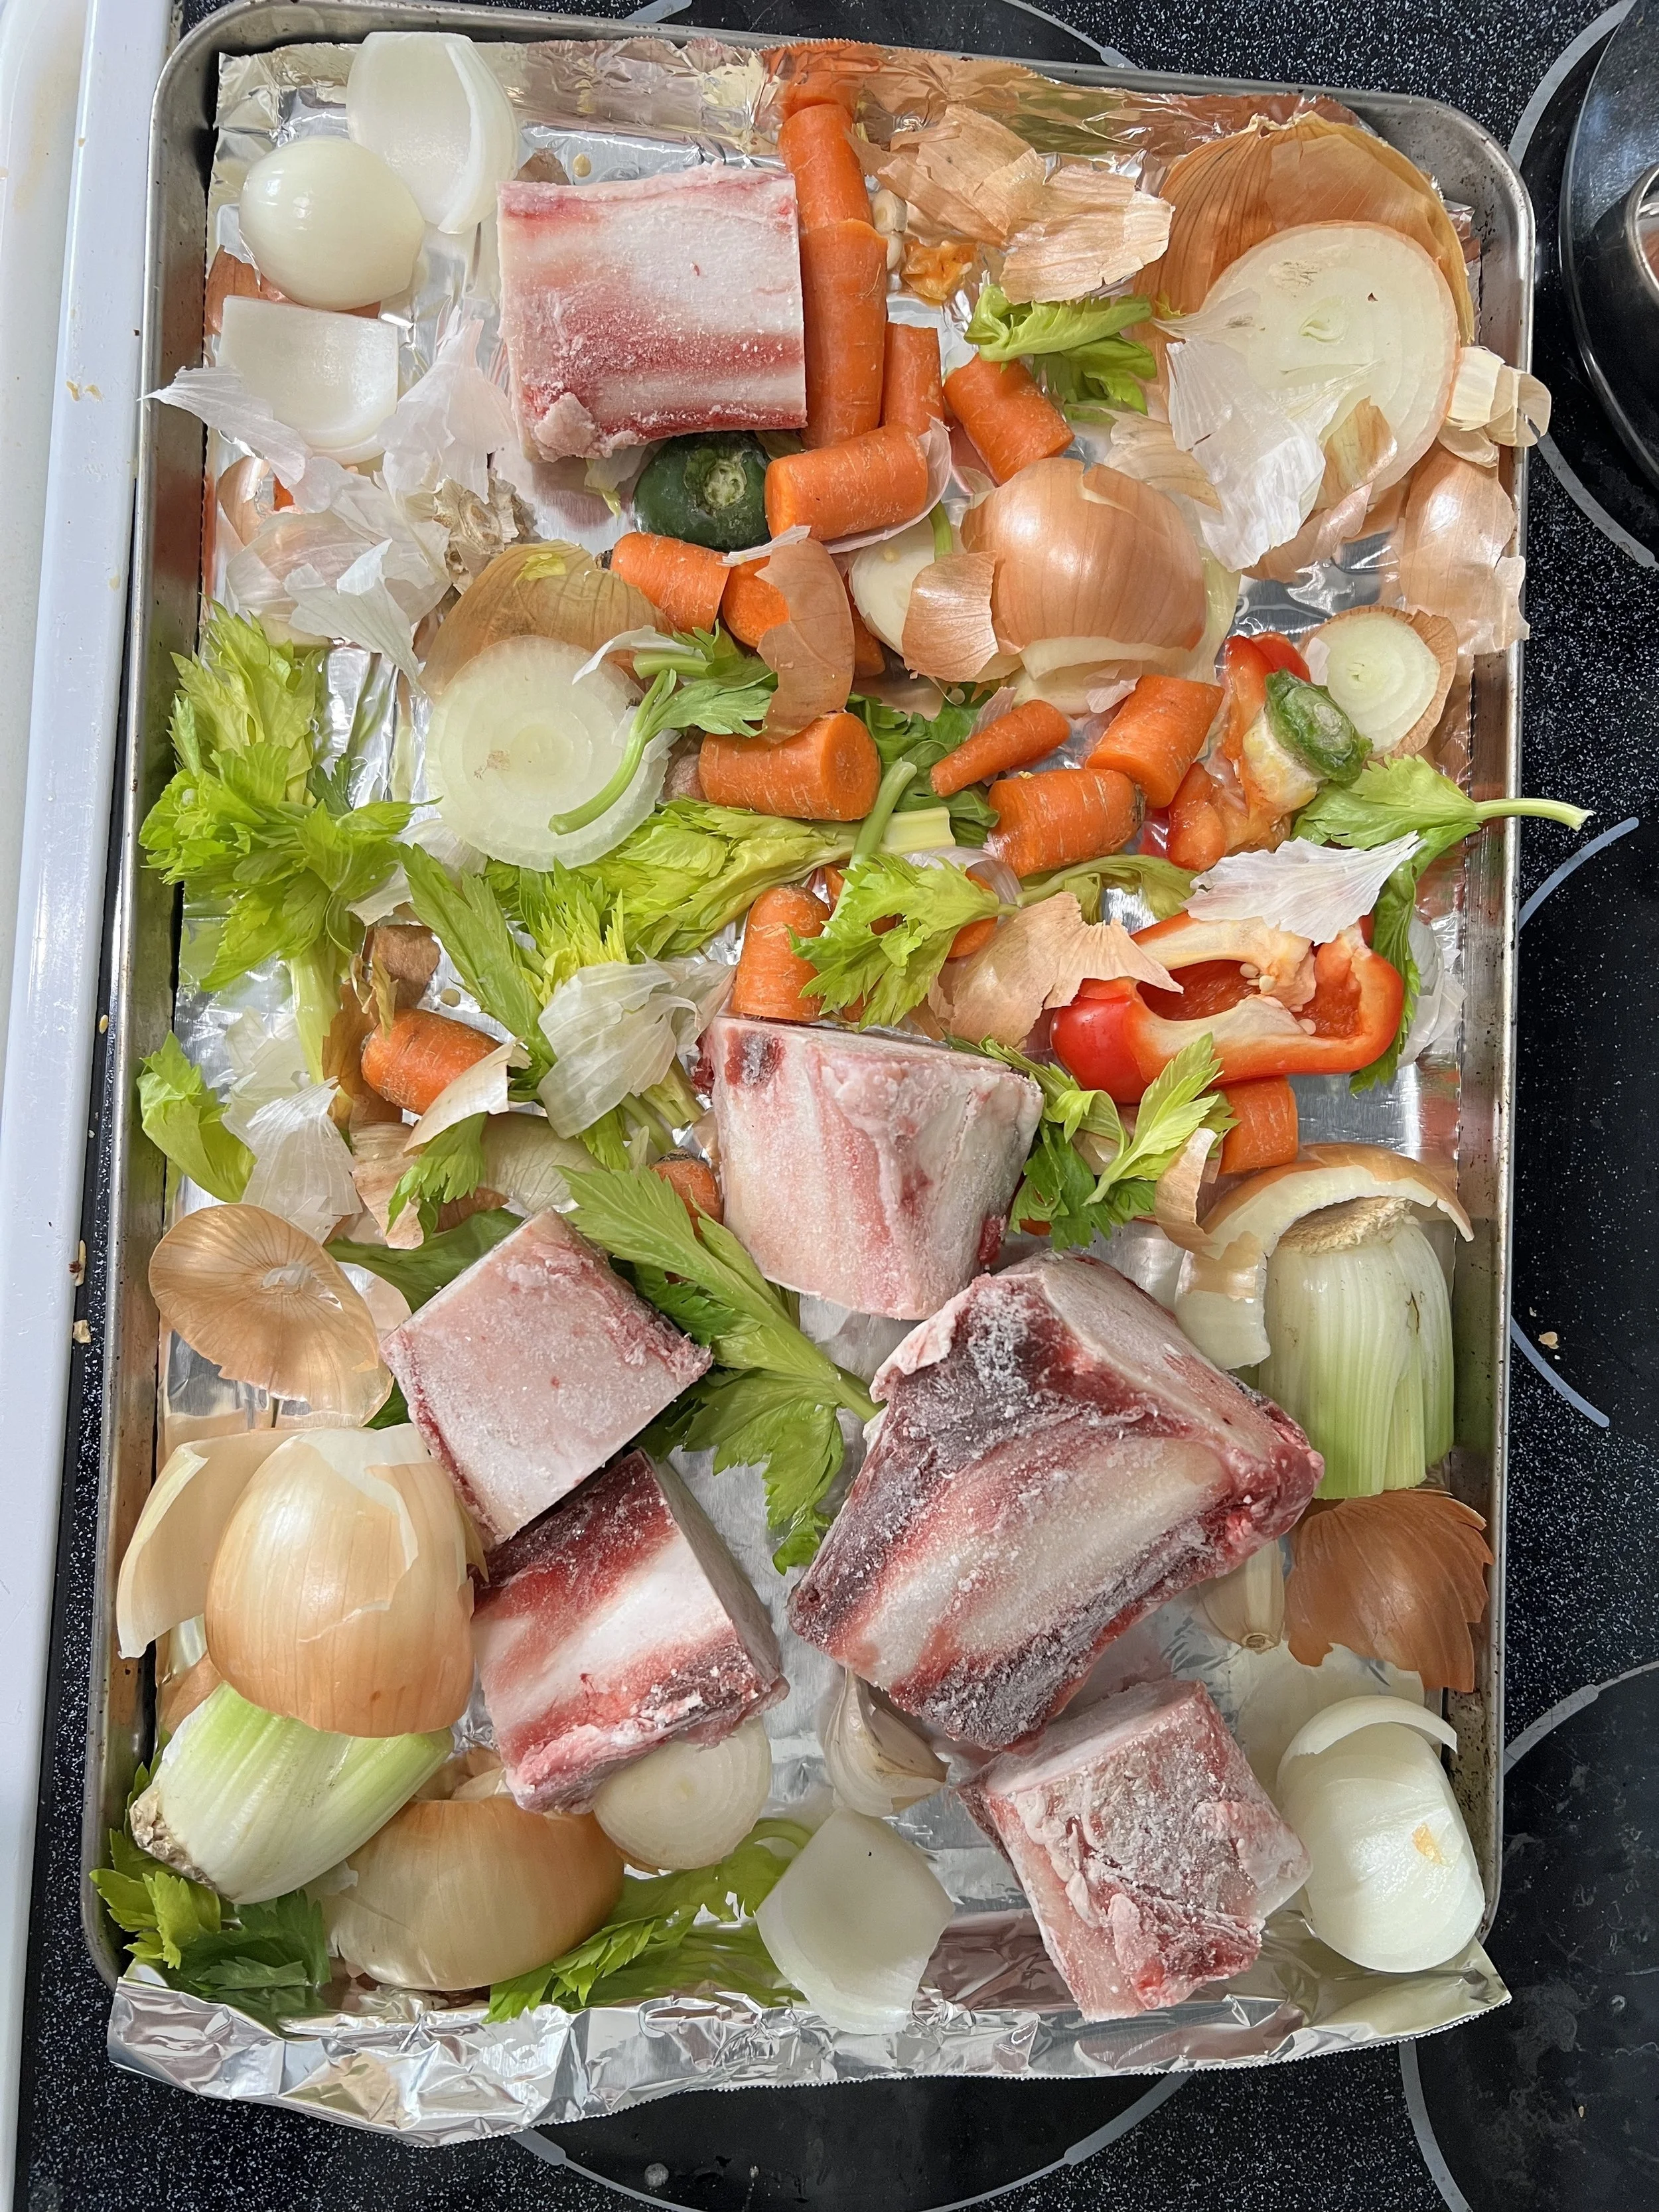
— Roast the beef and vegetables for 25-30 minutes, until the bones and all meat scraps on them are browned.
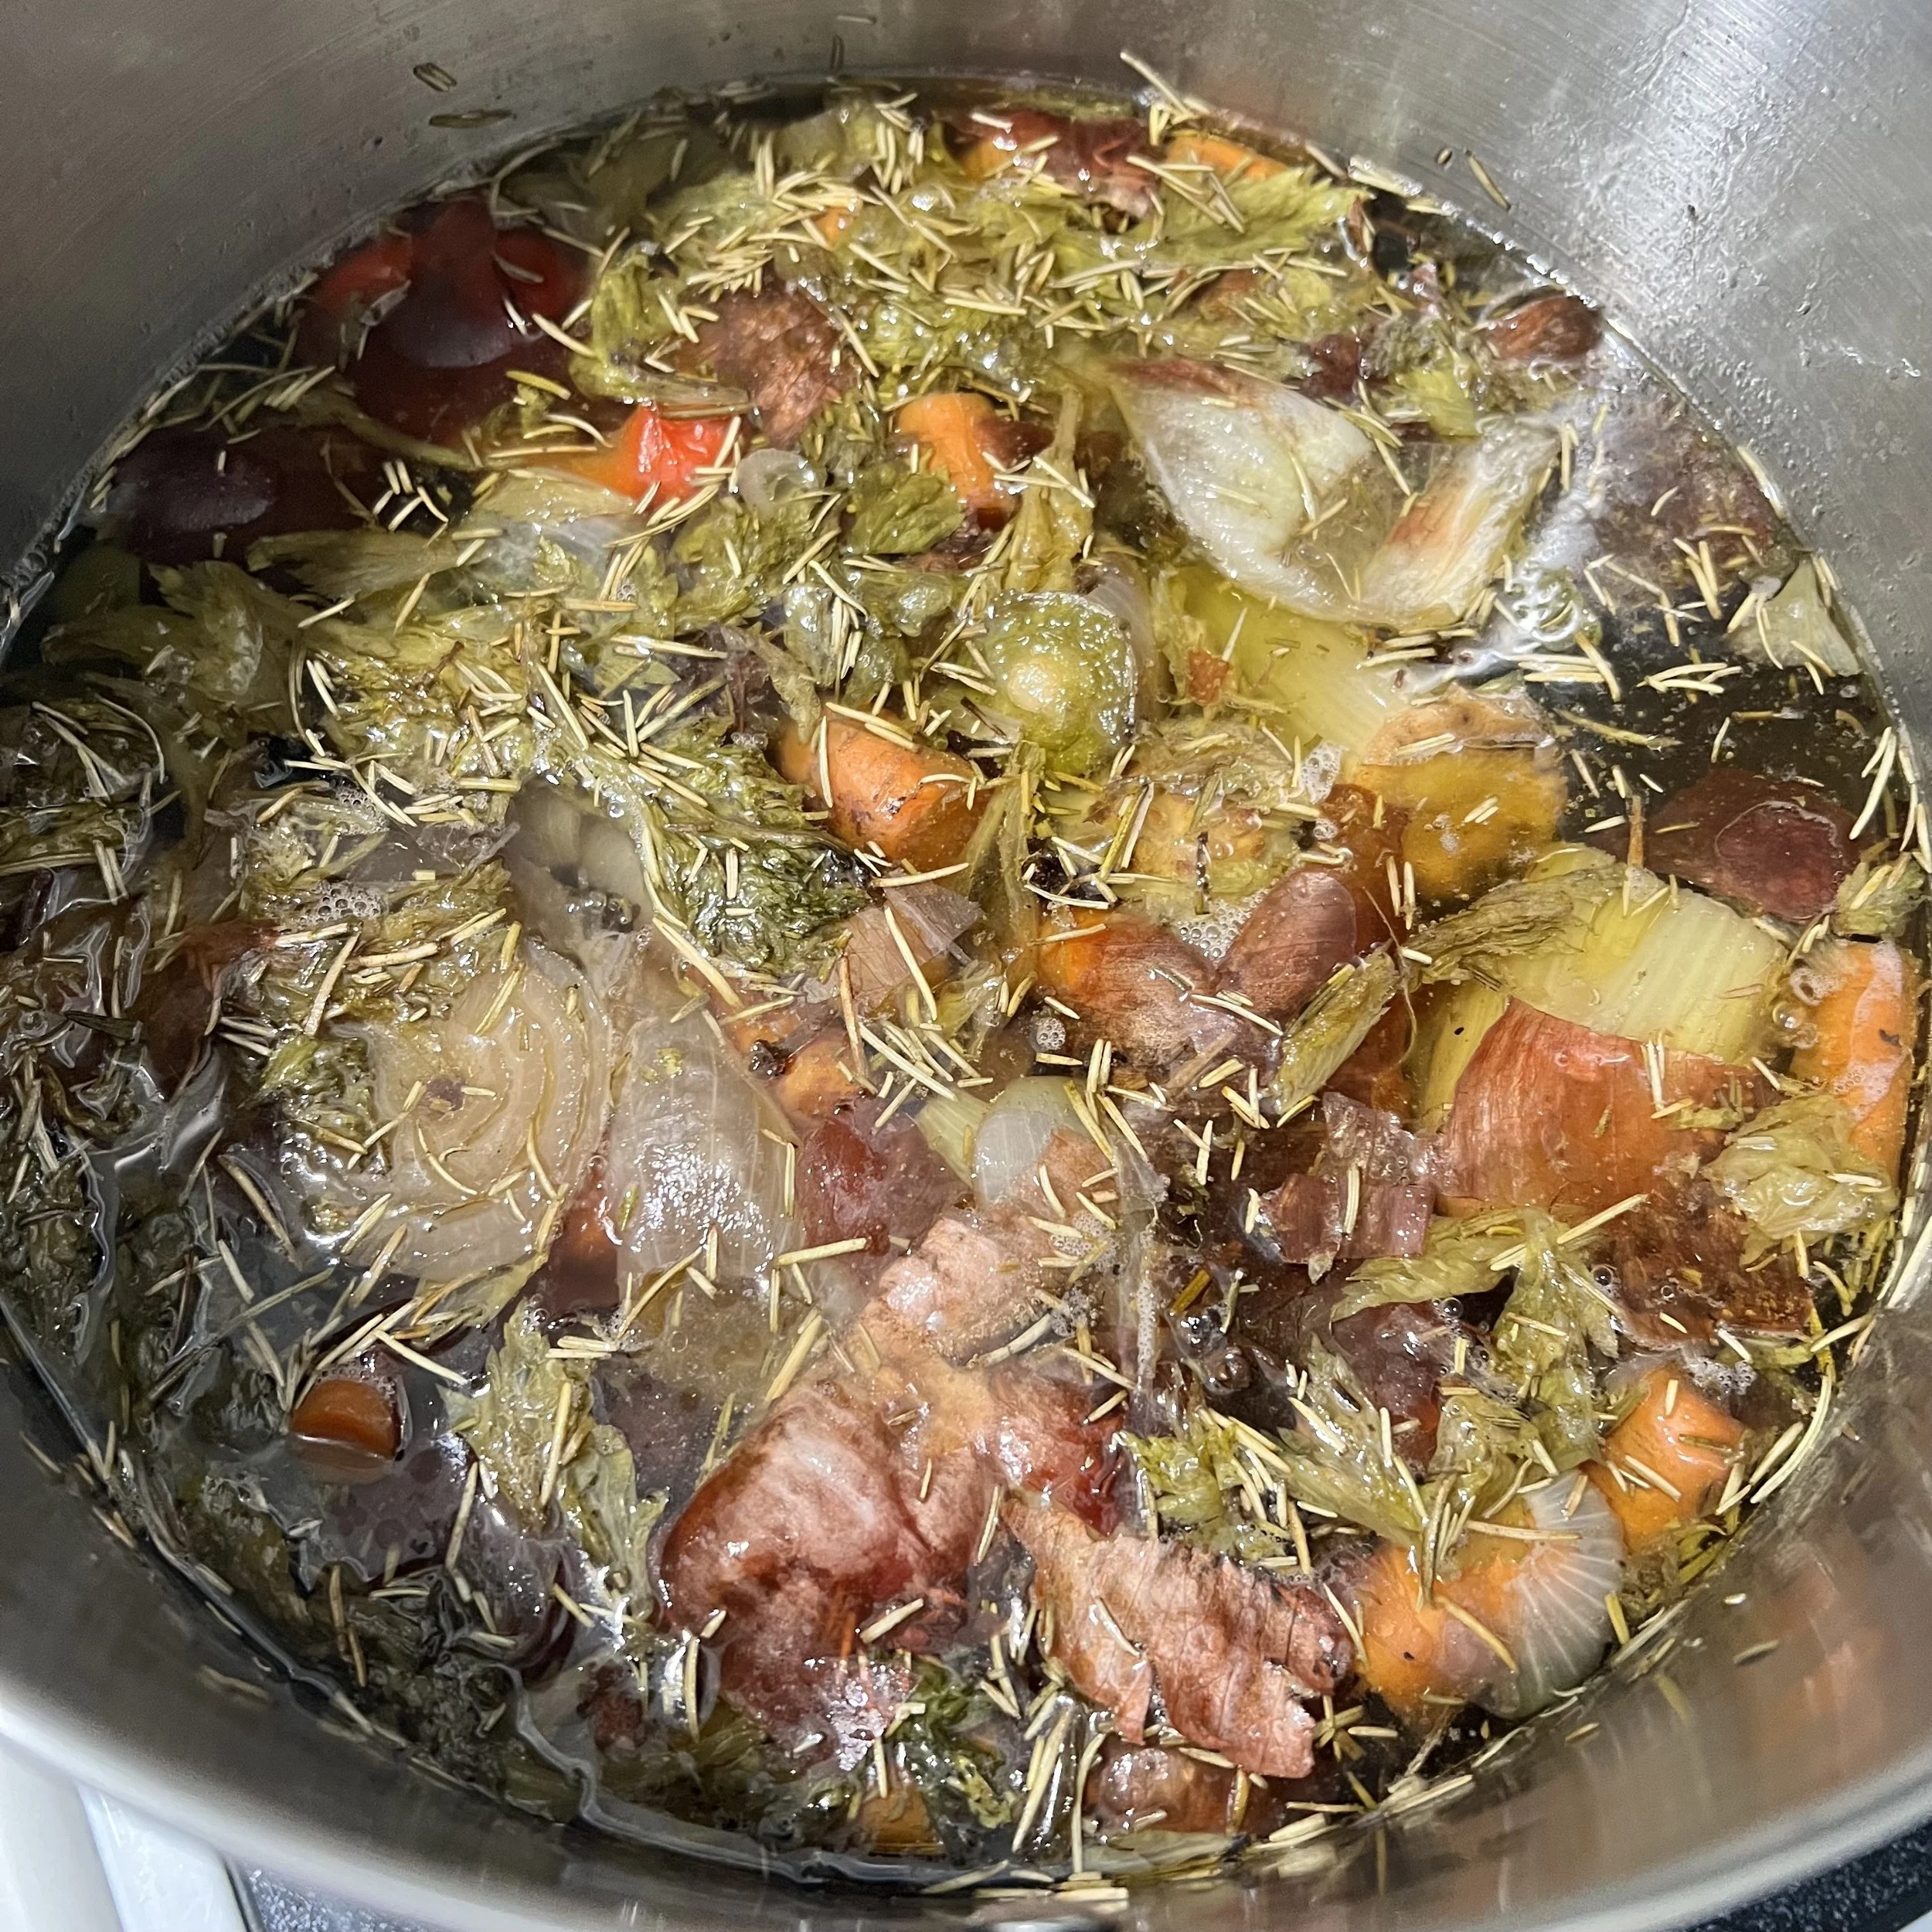
— Transfer the contents of the baking tray to the pot. Scrape the baking tray to get all brown bits and liquid into the pot.
— Add a generous amount of salt, pepper, and herbs to the pot, and fill with water. The water line should be a couple inches above the beef bones.
— Bring the pot almost to a boil, and then reduce to a simmer.
— Simmer the pot for 12-24 hours. Stir occasionally, but do not skim anything off the top. If your water level gets too low, feel free to add some water back in. You want the amount of liquid to reduce gradually, but you should not let the water line get down to the bones. Stir occasionally, using a large spoon to mix up the bones.
— If you need to leave the house or go to sleep, it’s okay to turn the burner off! You can simply cover the pot and refrigerate if you’re leaving it for a significant amount of time. When you’re ready to resume the simmer, warm it back up again and restart your timer.
— Taste the broth every couple of hours. The flavor will change over time as the bones and vegetables break down, so don’t be too quick to add ingredients. You can add some extra salt and pepper or herbs if necessary, but just be sure you really need it.
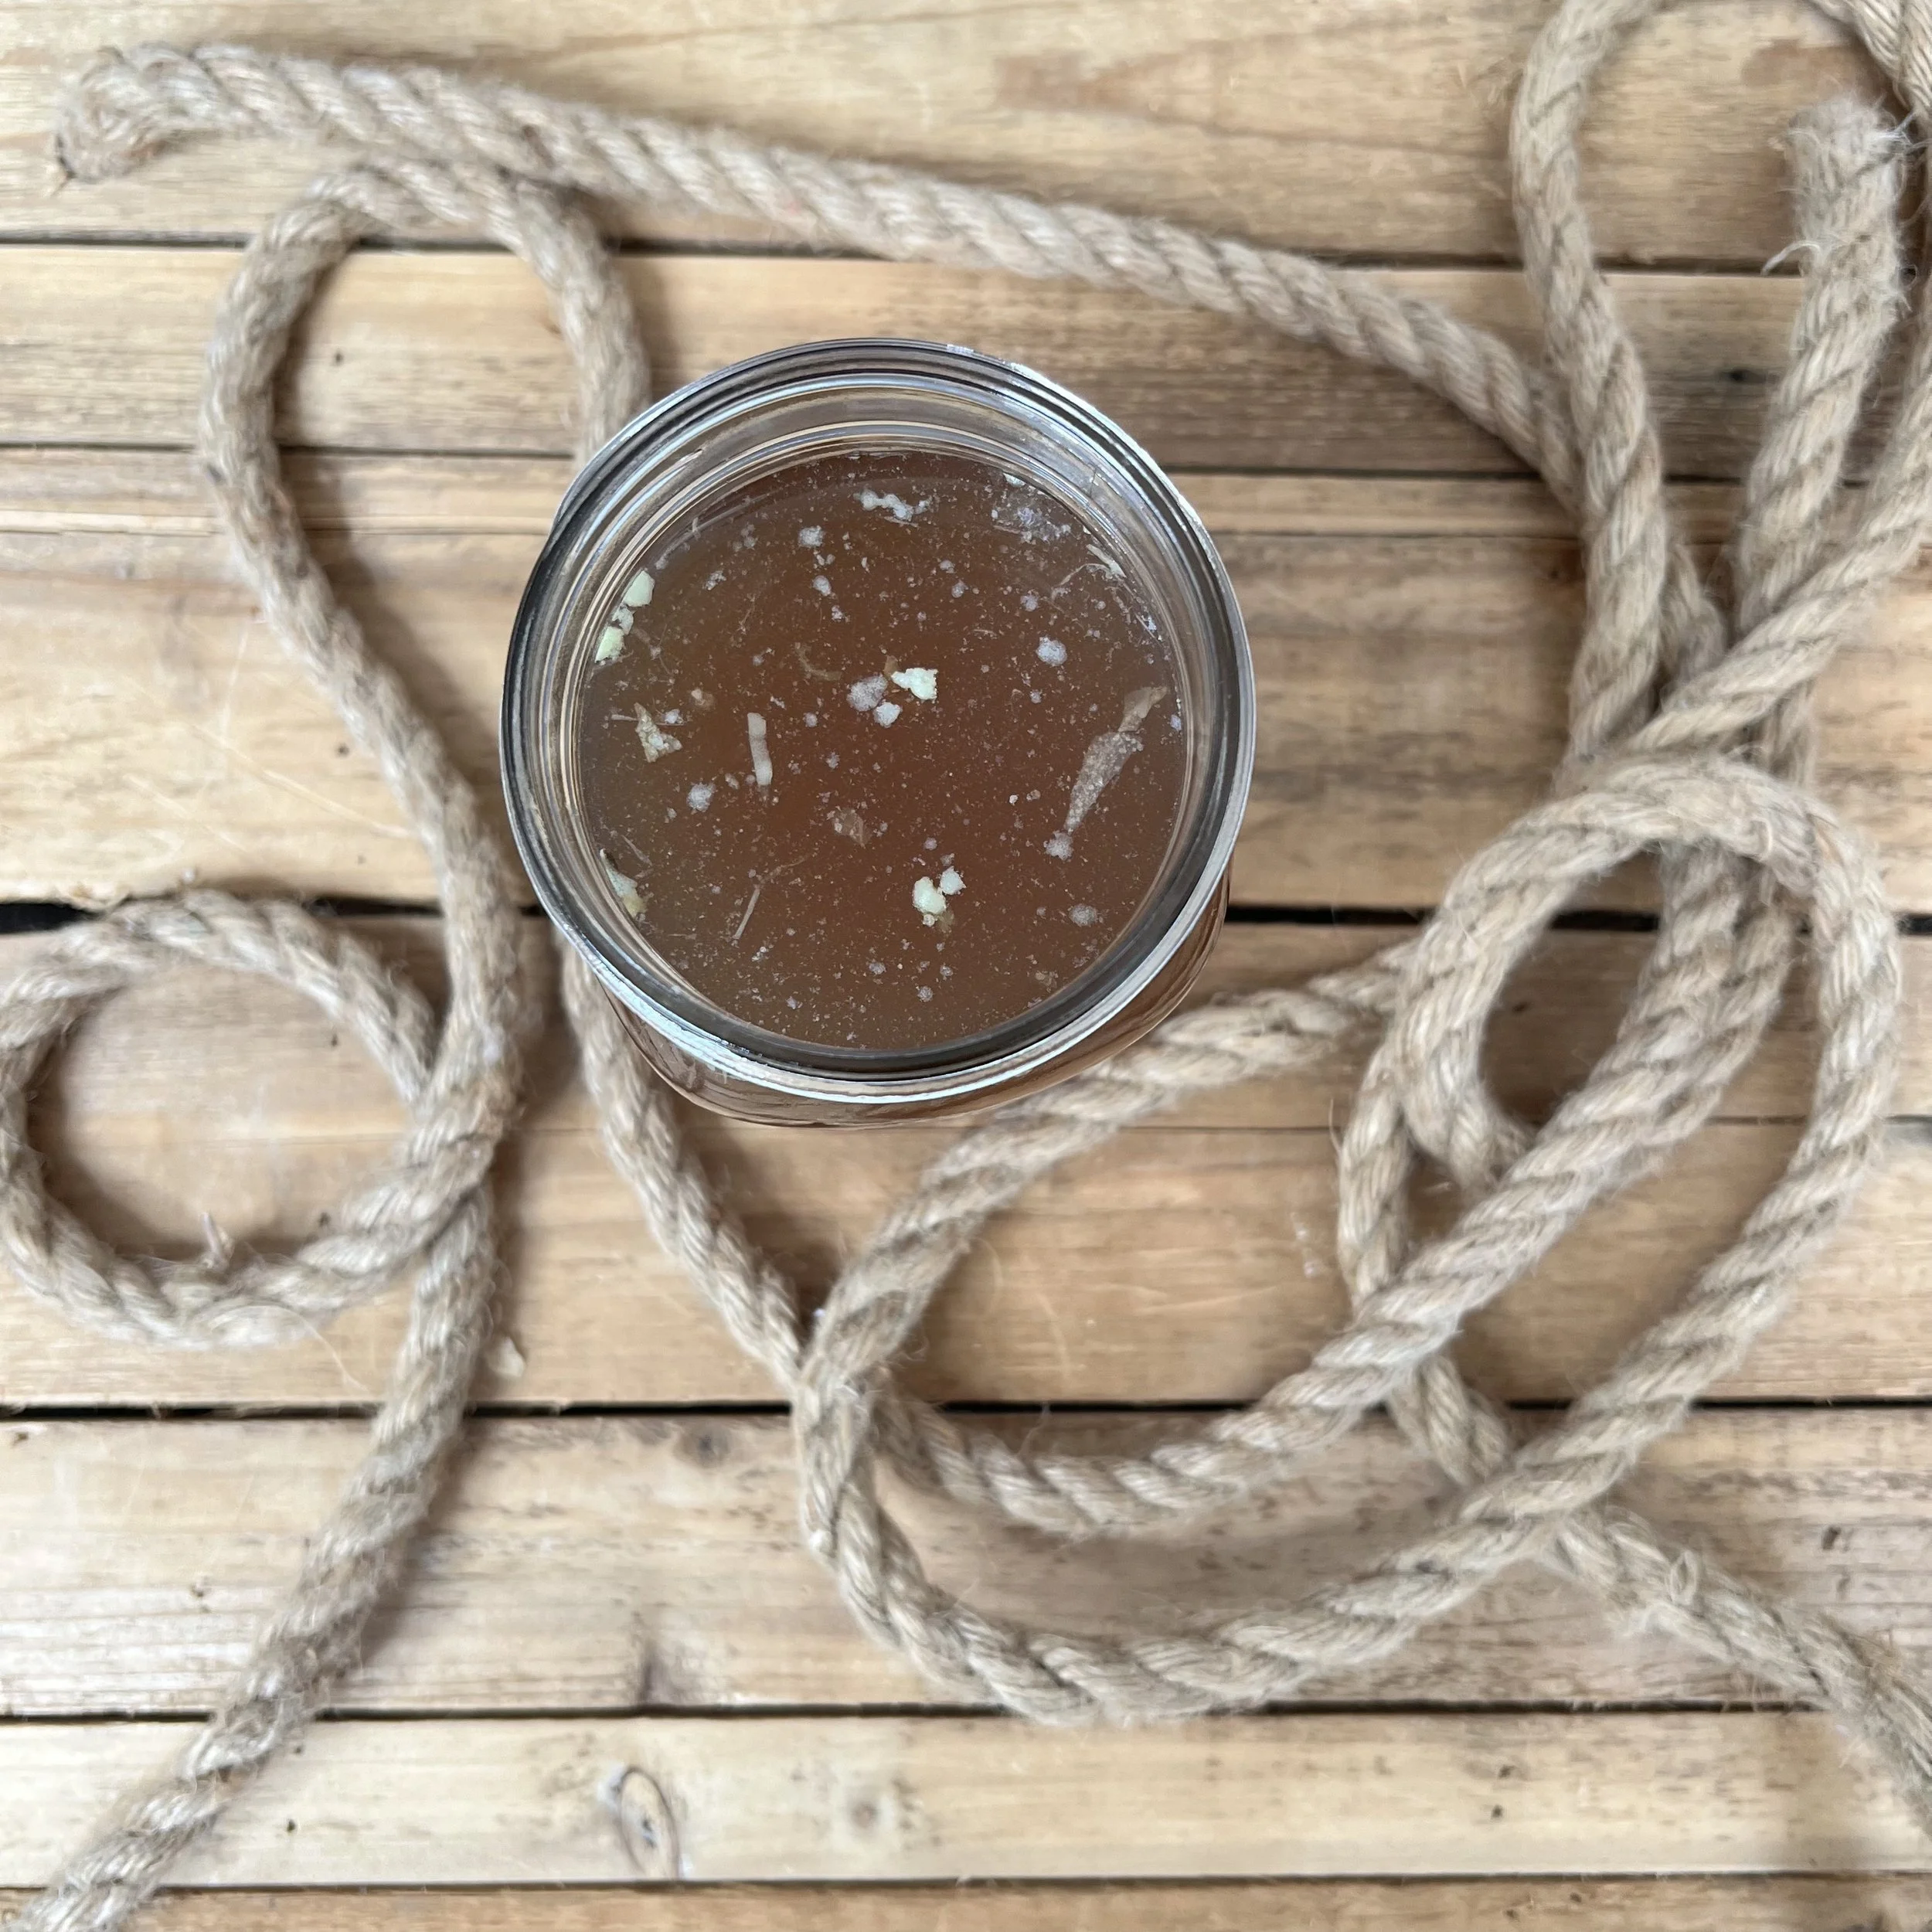
— Once you’re satisfied with the flavor and consistency of your broth, it’s time to drain it. Use a strainer and pour the liquid into another pot or container. Throw out all of the vegetable scraps and beef bones. We use a strainer with large holes, so a lot of fine particles get through. You can use a finer strainer if you want, but remember, we are okay with a bit of character in this bone broth.
— Seal off the container and let it cool, and then transfer it to the fridge or freezer. You can keep this broth for about a week in the fridge, or 3 to 6 months in the freezer, depending on the container.
Onion and Apple Soup
Welcome to the first day of the second half of your life: once you have your own homemade broth, you will never look at store-bought broth the same way again. Every soup you make from here on our will be hearty, robust, and totally unique in flavor. That’s because your homemade broth will always be a little quirky— the mixture of vegetables in your scrap bag will always be a little different, the ratio of fat to meat to marrow in the bones you’re using will change every time. However, it will always be delicious.
The simpler the soup, the more the character of your broth will shine through. With that in mind, we’re going to make a twist on French onion soup using just a handful of ingredients.
Equipment:
— Large, heavy-bottom, stainless steel pot
— Oven-safe crocks or large ramequins
— Baking tray (for catching drippings)
— Metal or wooden spatula
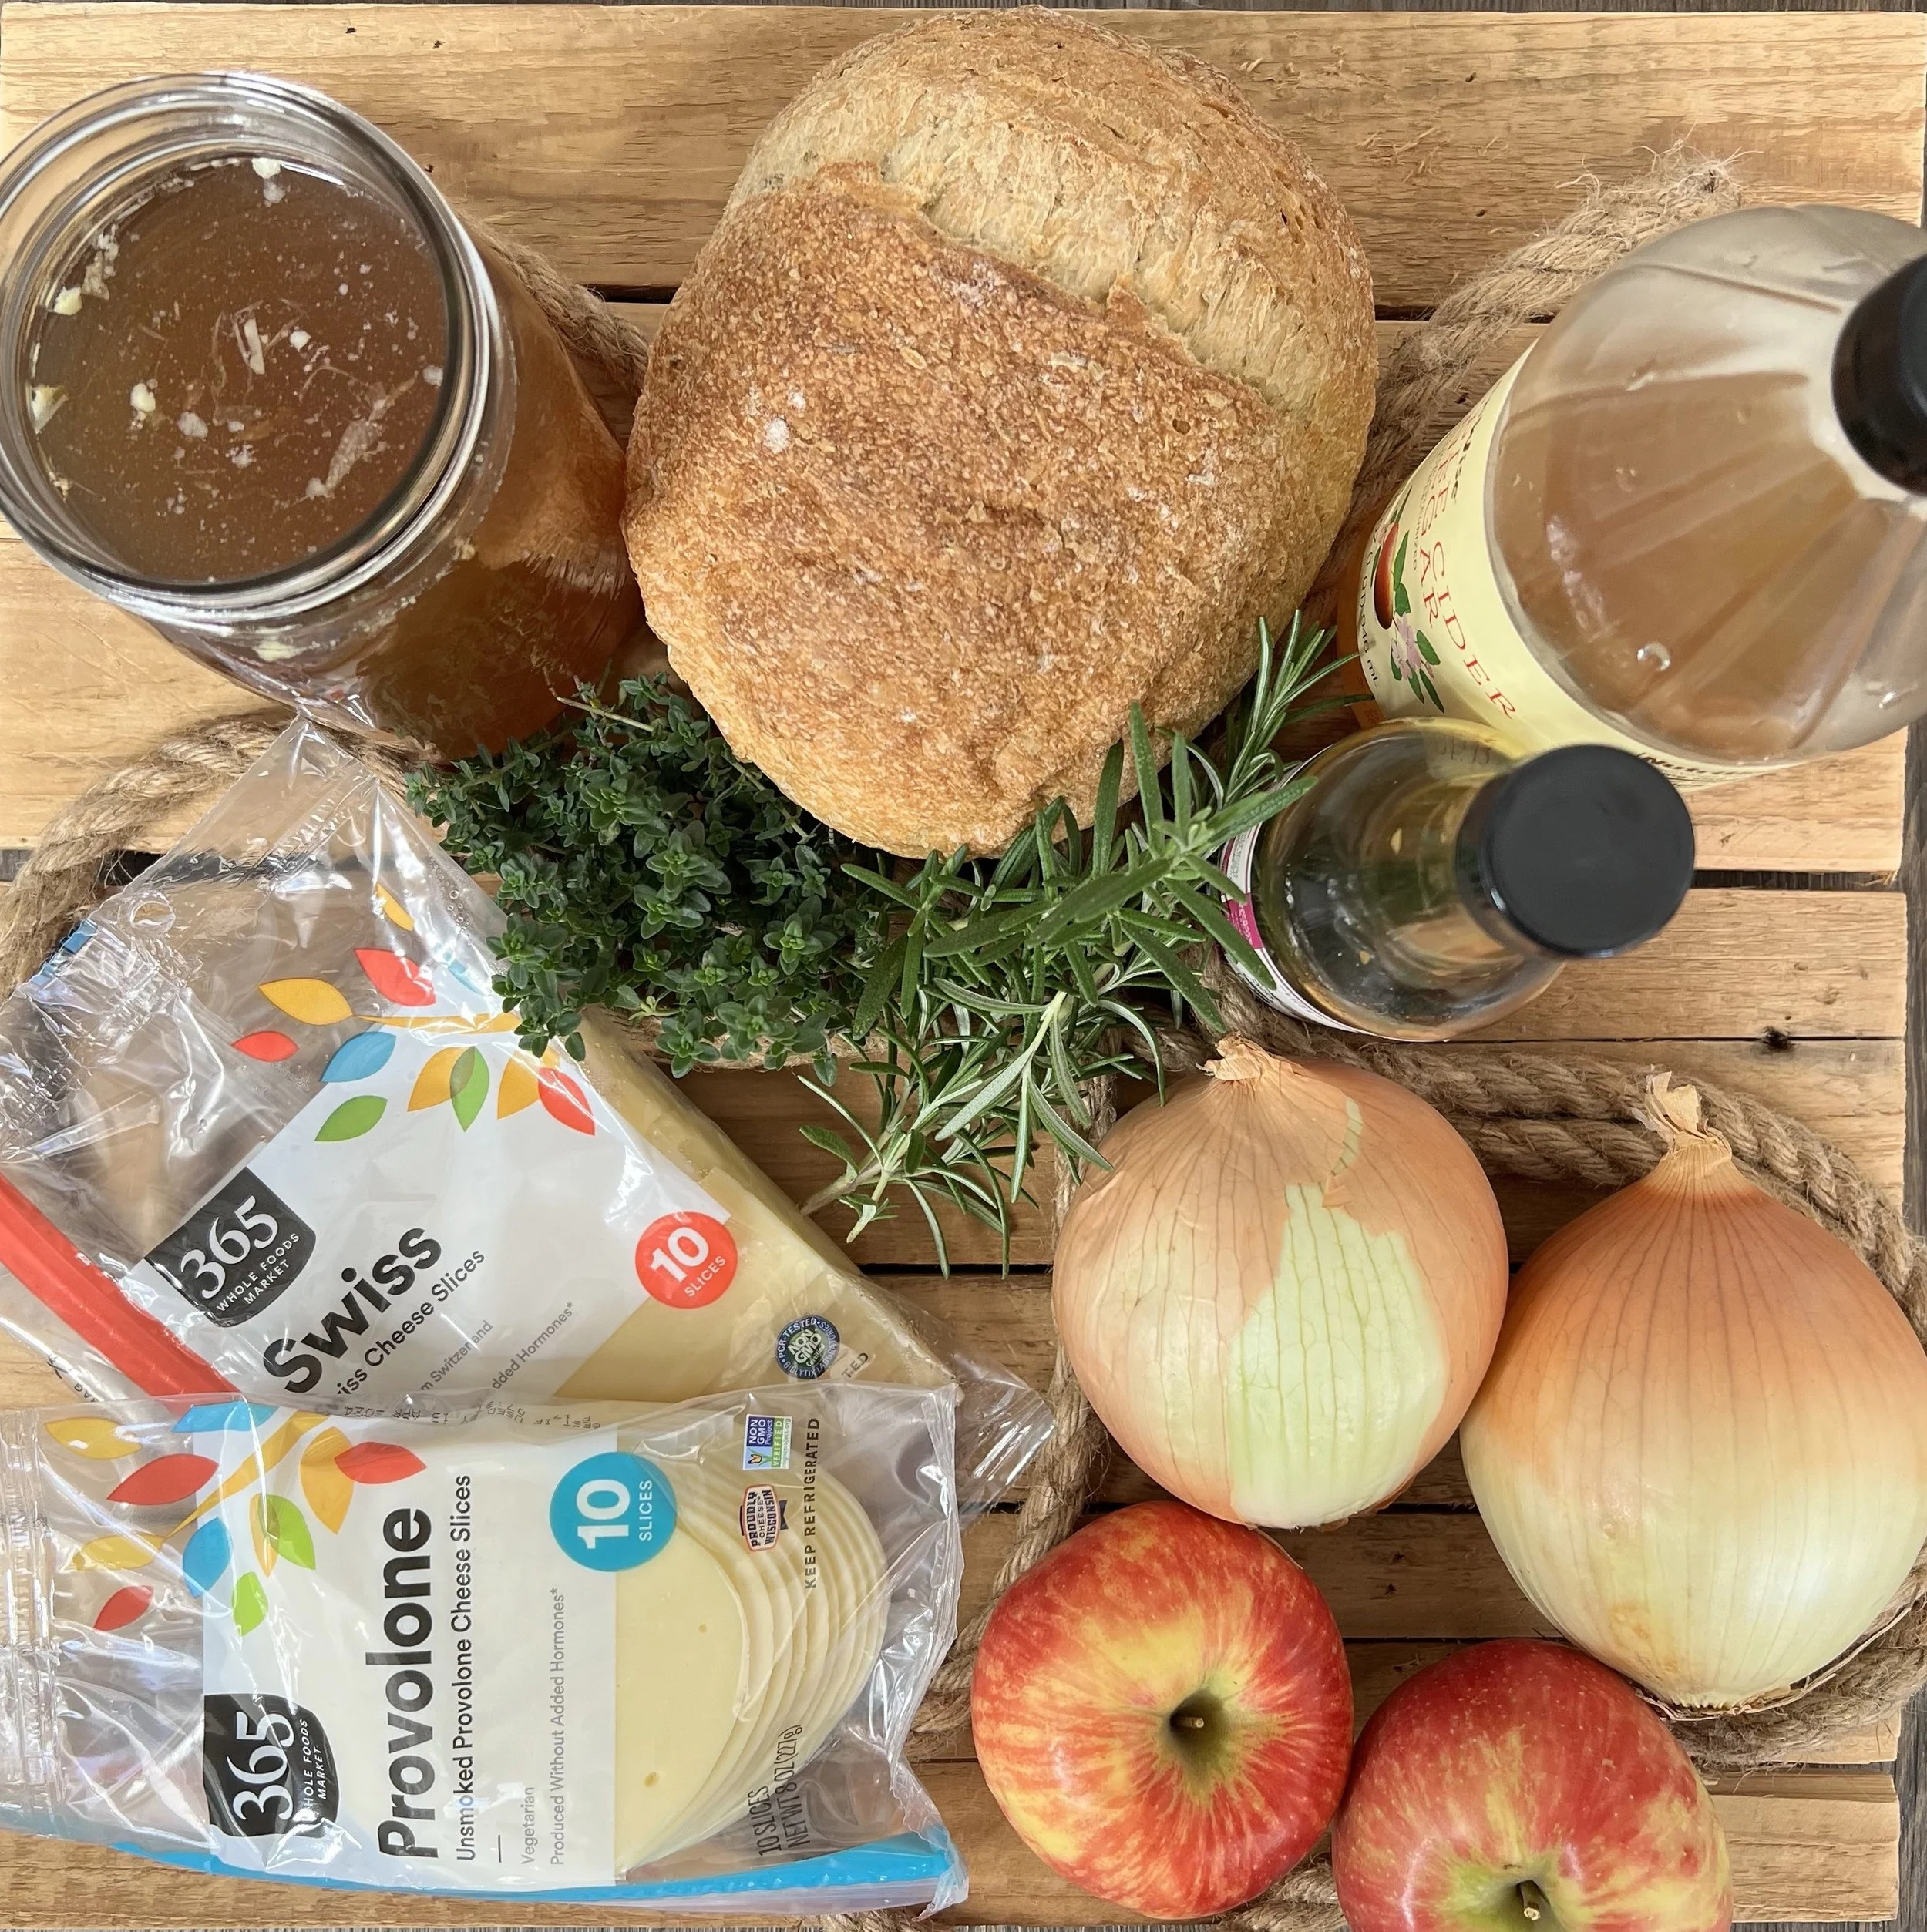
Ingredients:
- 8 onions, roughly chopped and separated
- 2 apples, cored and cubed
- ½ stick butter
- 10 cups of broth
- ¼ cup apple cider vinegar
- 1 tablespoon coconut aminos
- 3 large sprigs rosemary
- 3 large sprigs thyme
- Salt, to taste
- Pepper, to taste
- 2 thick slices of bread, about ½” thick. We used rosemary sourdough
- 4 slices of swiss cheese
- 4 slices of provolone cheese
Recipe:
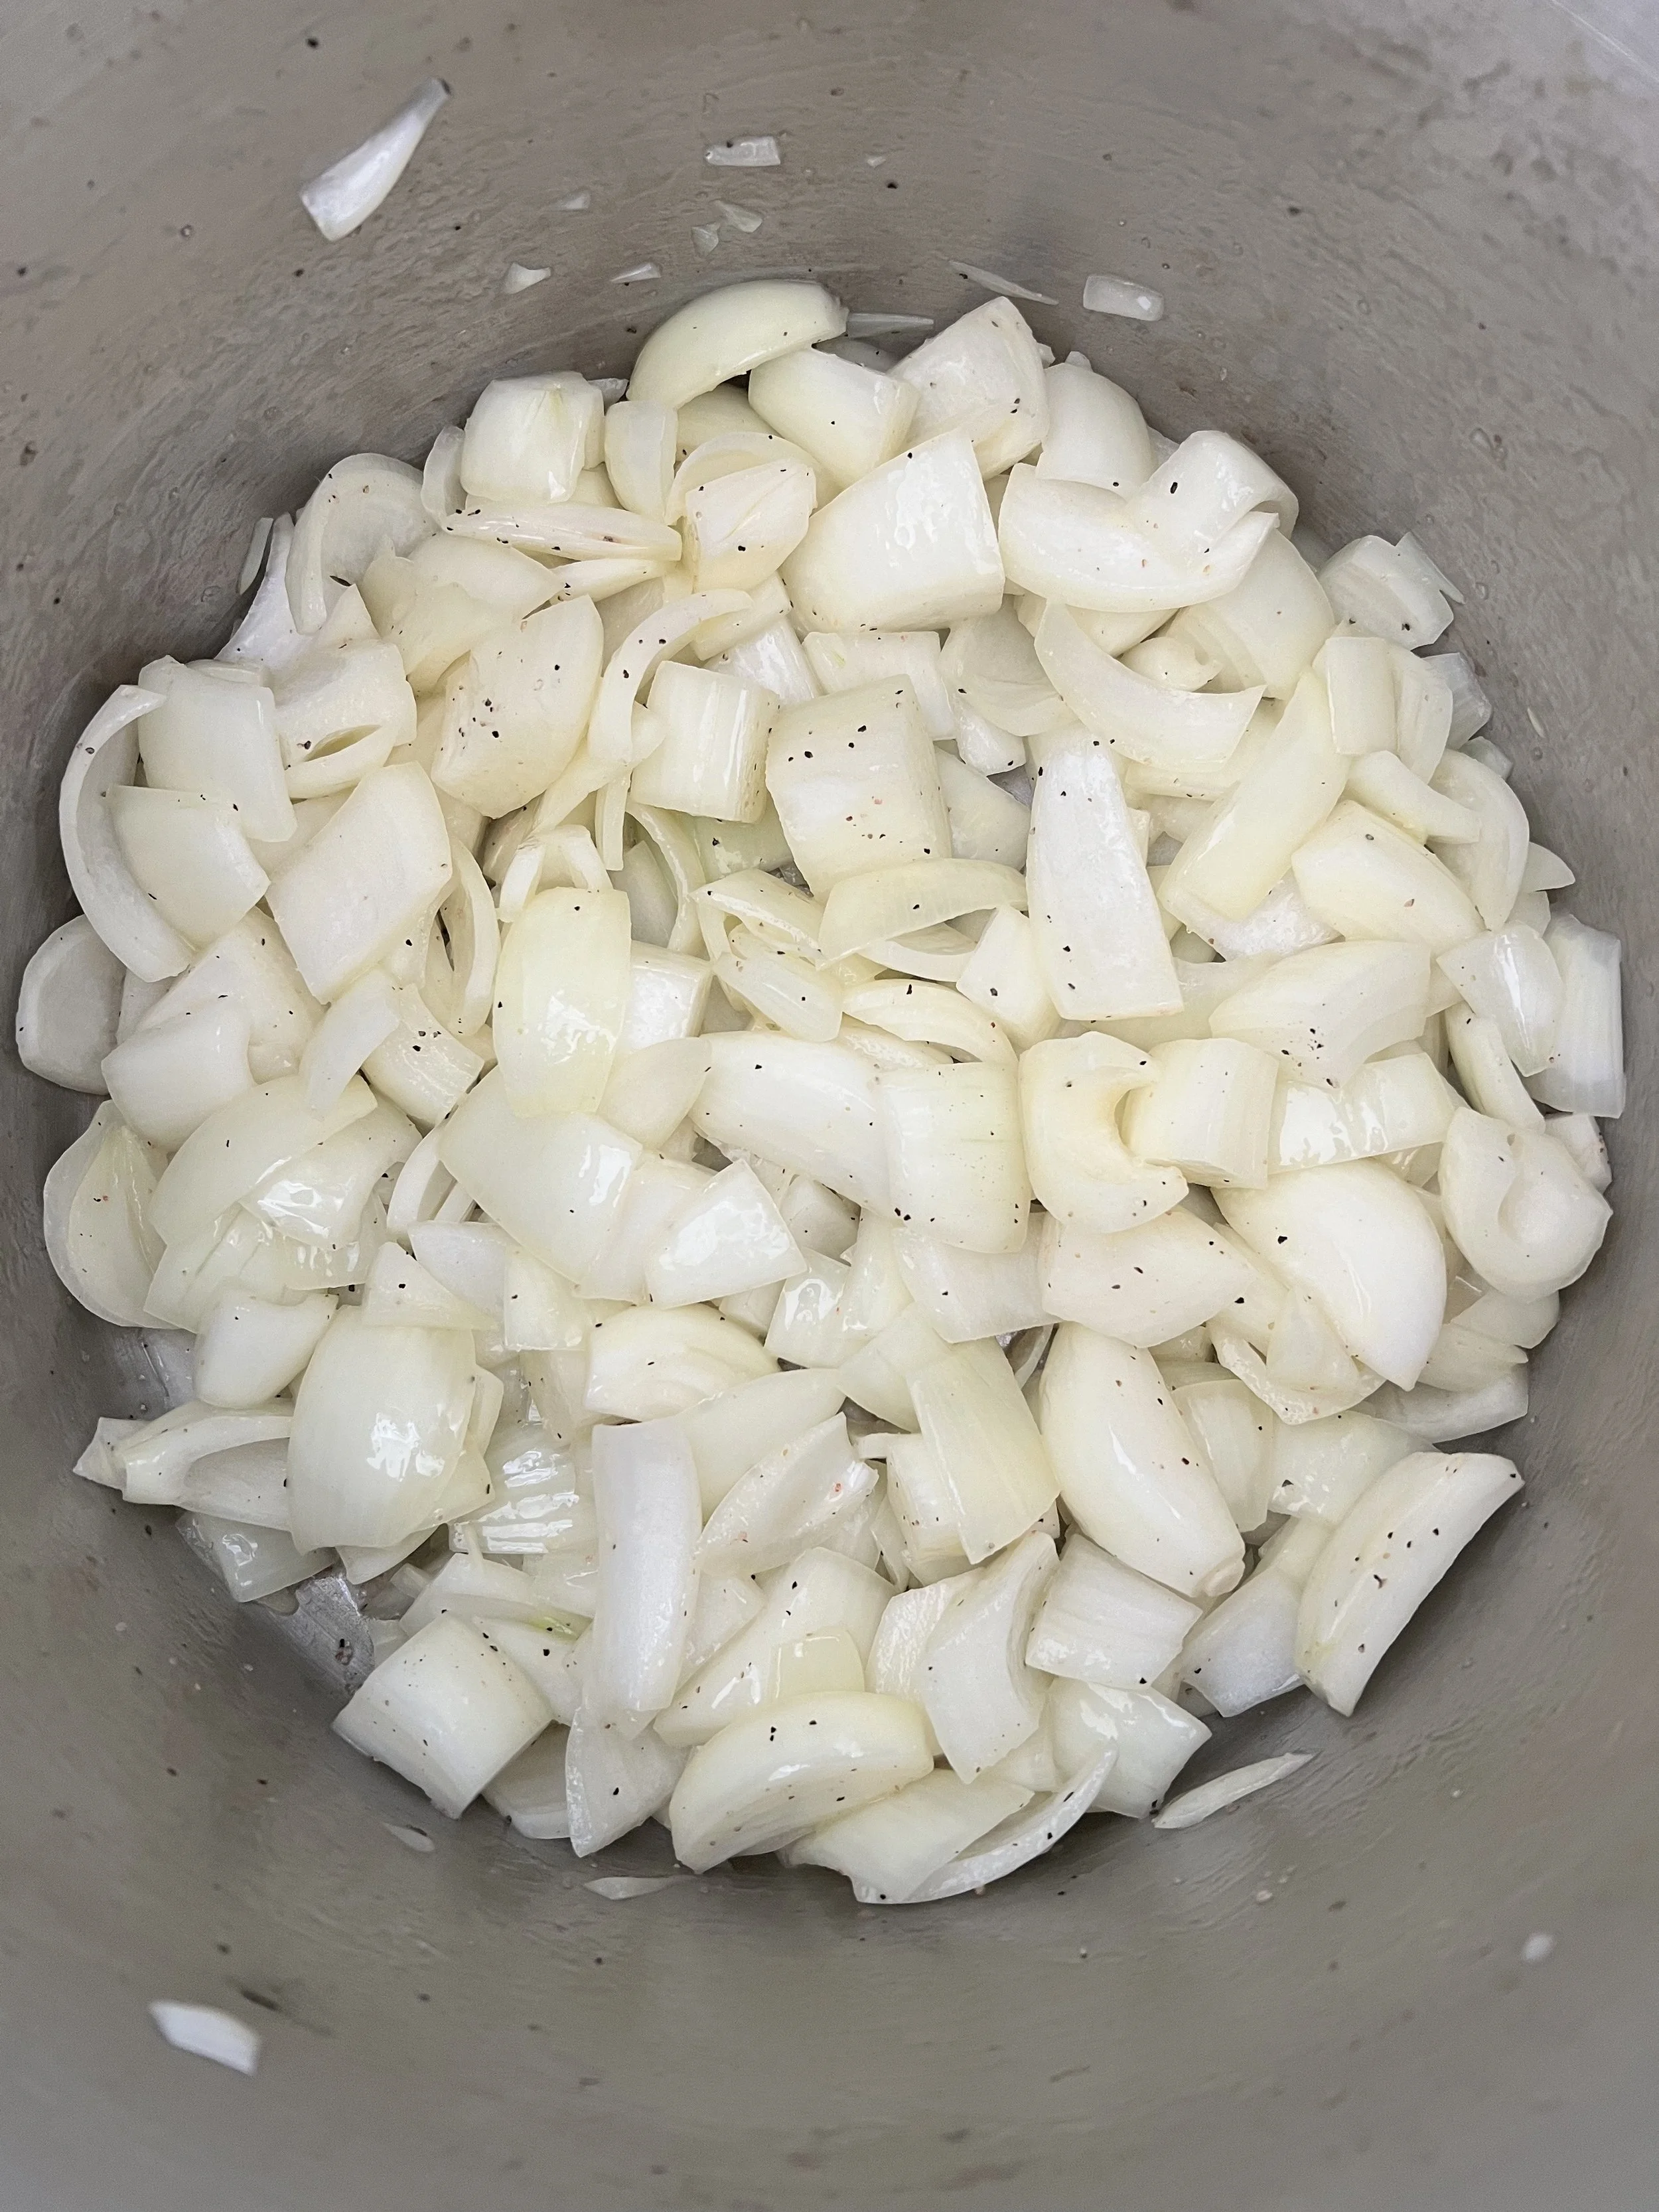
— Melt butter in the pot over medium heat, until it starts to bubble.
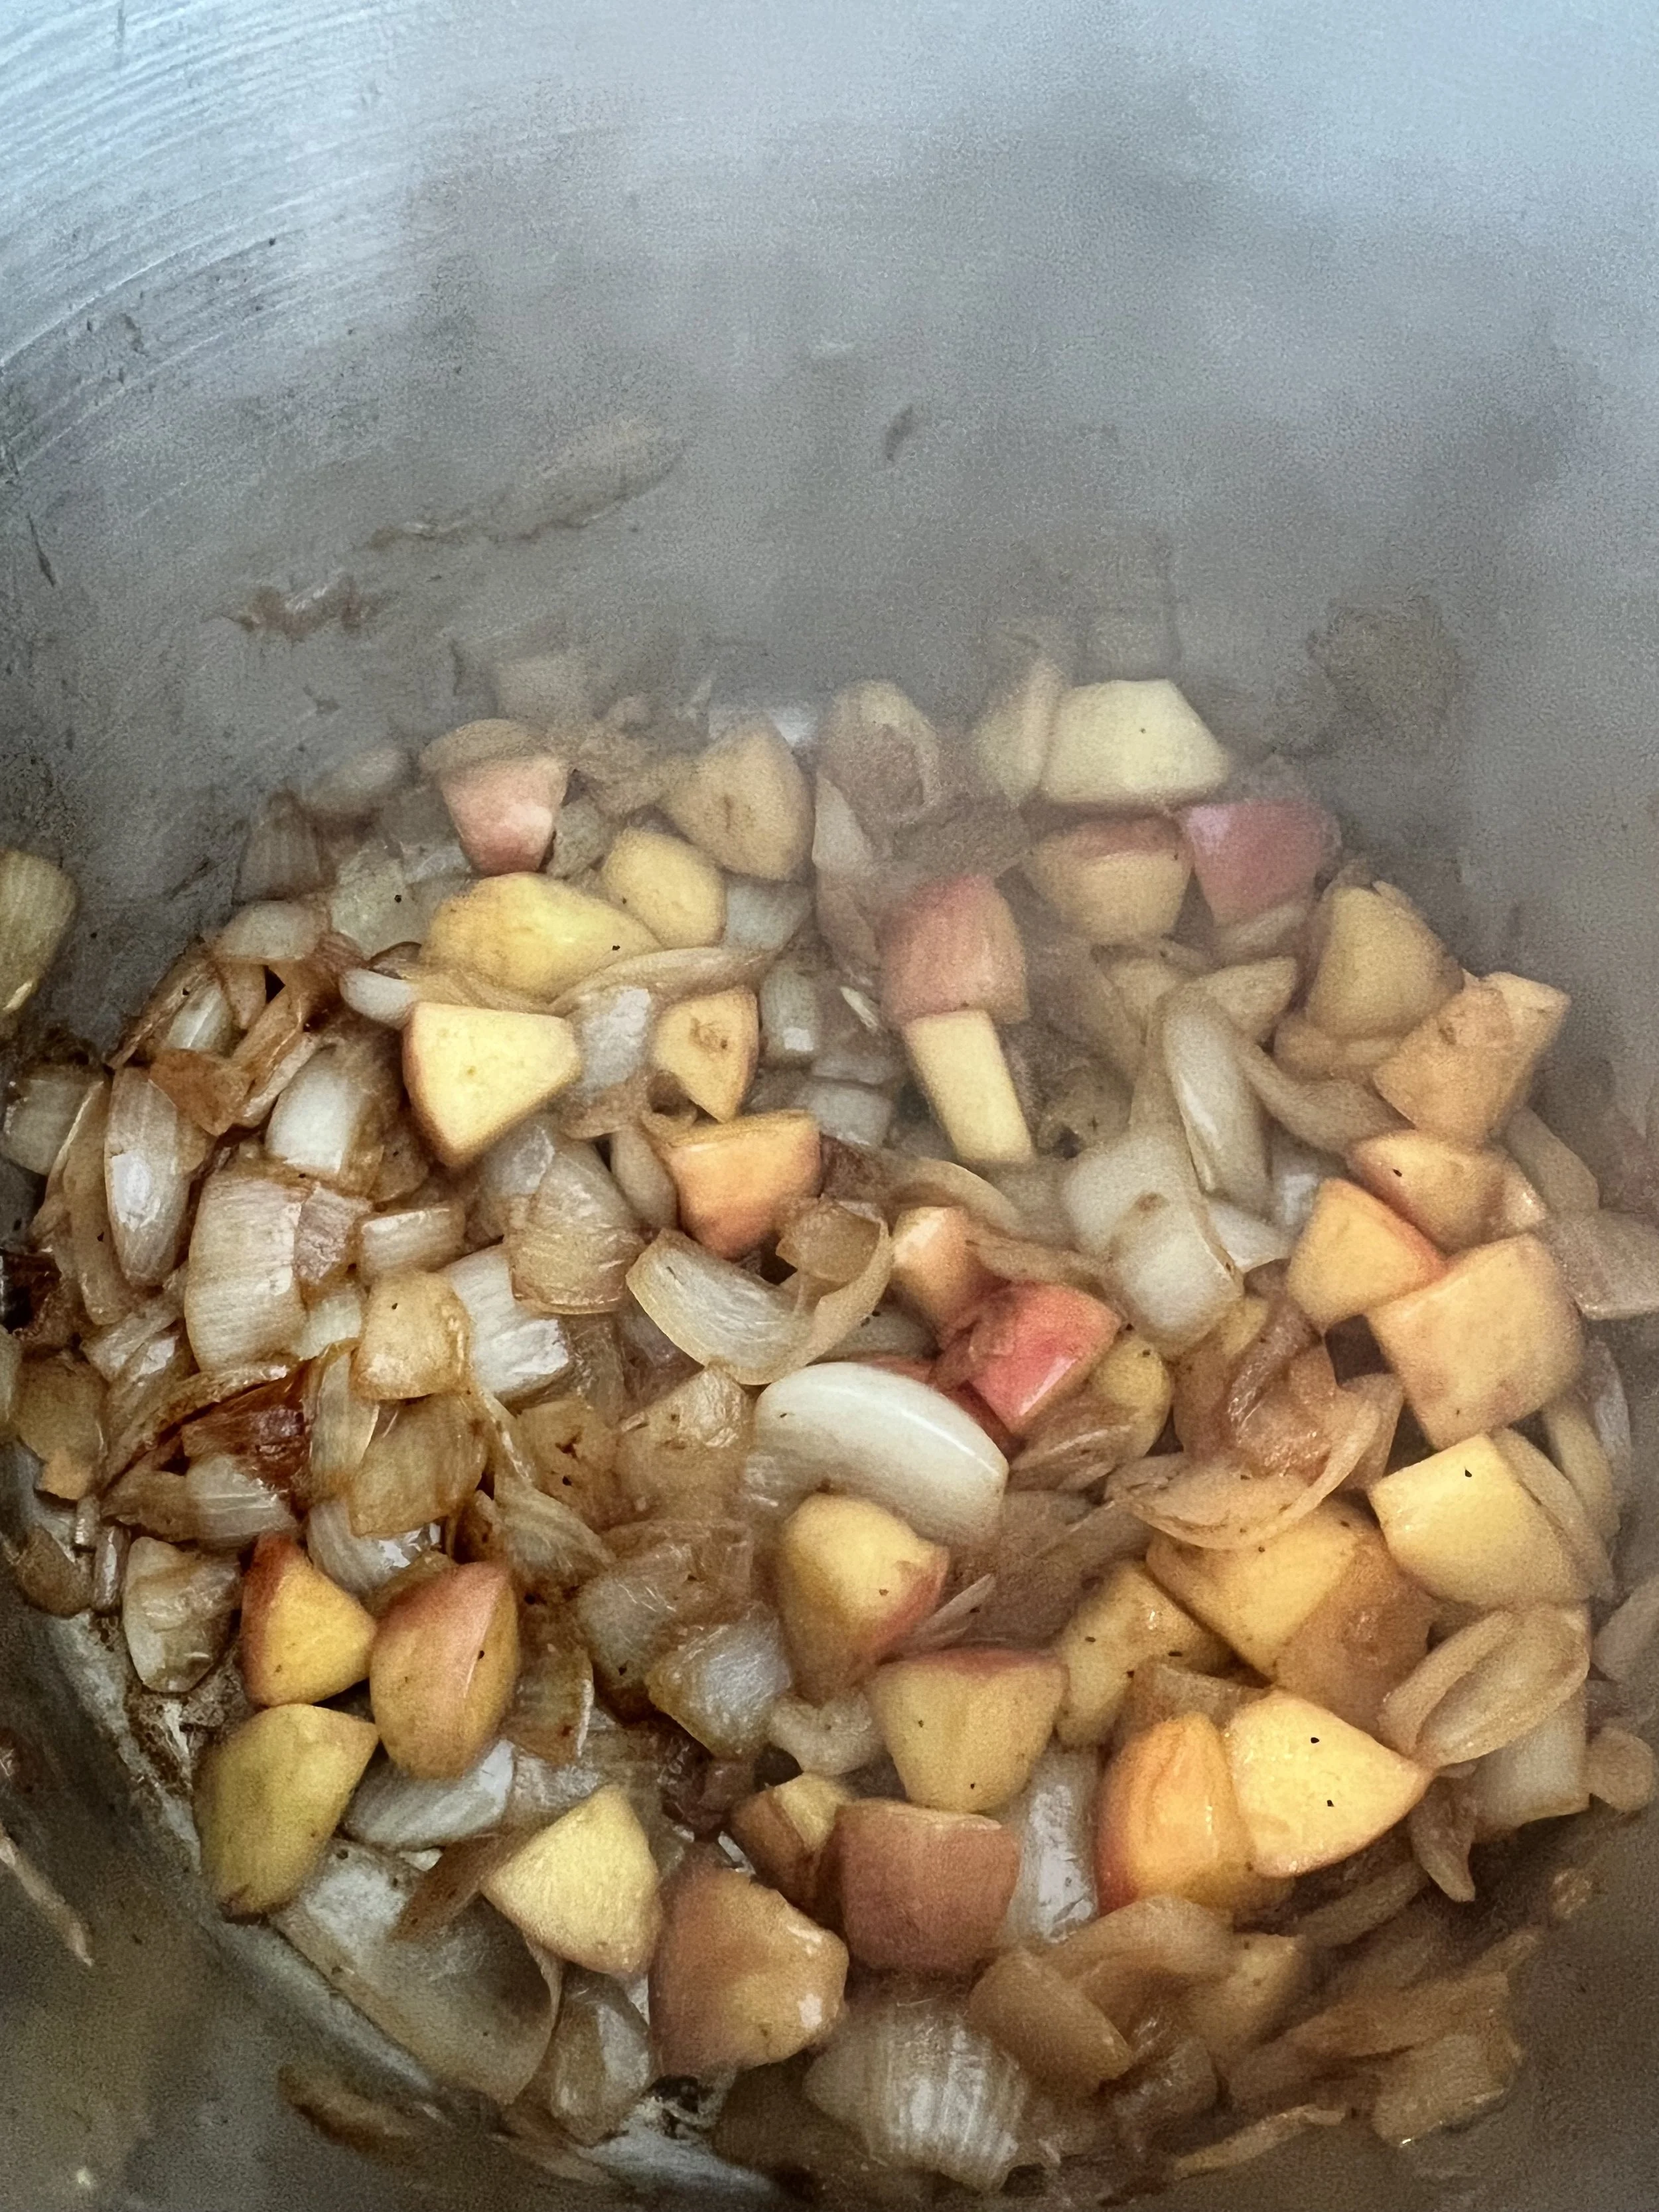
— Add onions to the pot, sprinkle generously with salt and pepper. Cook on medium-high until browned, about 20-30 minutes. Stir frequently to ensure good coloring all of the onion pieces. Add the apples in about halfway through.
— Add the apple cider vinegar and coconut aminos and scrape the bottom of the pot. Use a spatula with a sharp edge and work to get as much off the bottom of the pan as possible. Let cook about 5 minutes at medium heat until the liquid starts to thicken up.
— Add the broth and herbs, then raise the heat to high. Let the soup come close to a boil, then reduce to a simmer and give it a good stir. We tossed the herbs in loosely, but if you don’t want large pieces of rosemary in the soup, wrap the herbs in cheesecloth.
— Let the soup cook for 45-60 minutes. Taste periodically and add additional salt and pepper if needed.
— Once the soup is coming together, crank the broiler in your oven to high, close the oven door, and let it preheat.
— Ladle soup into a crock for each person. Place a thick slice of bread on the surface of the soup, and then put two slices of each kind of cheese (4 total) fanned out on the bread.
— Place each crock in the oven, close to the broiler, and close the door. Let the cheese become molten, drip, bubble, brown, and even burn in a couple places. Let the broiler work until the cheese has a rich, beautiful color and texture, then carefully— carefully, with very thick oven mitts— pull the crocks out and put each one on its own serving plate.
— Serve immediately. Dig straight into the cheese with a spoon and scoop out an amazing bite with onion, apple, bread, and cheese. Enjoy!